How to Enable Tracking Page on your Shopify Store?
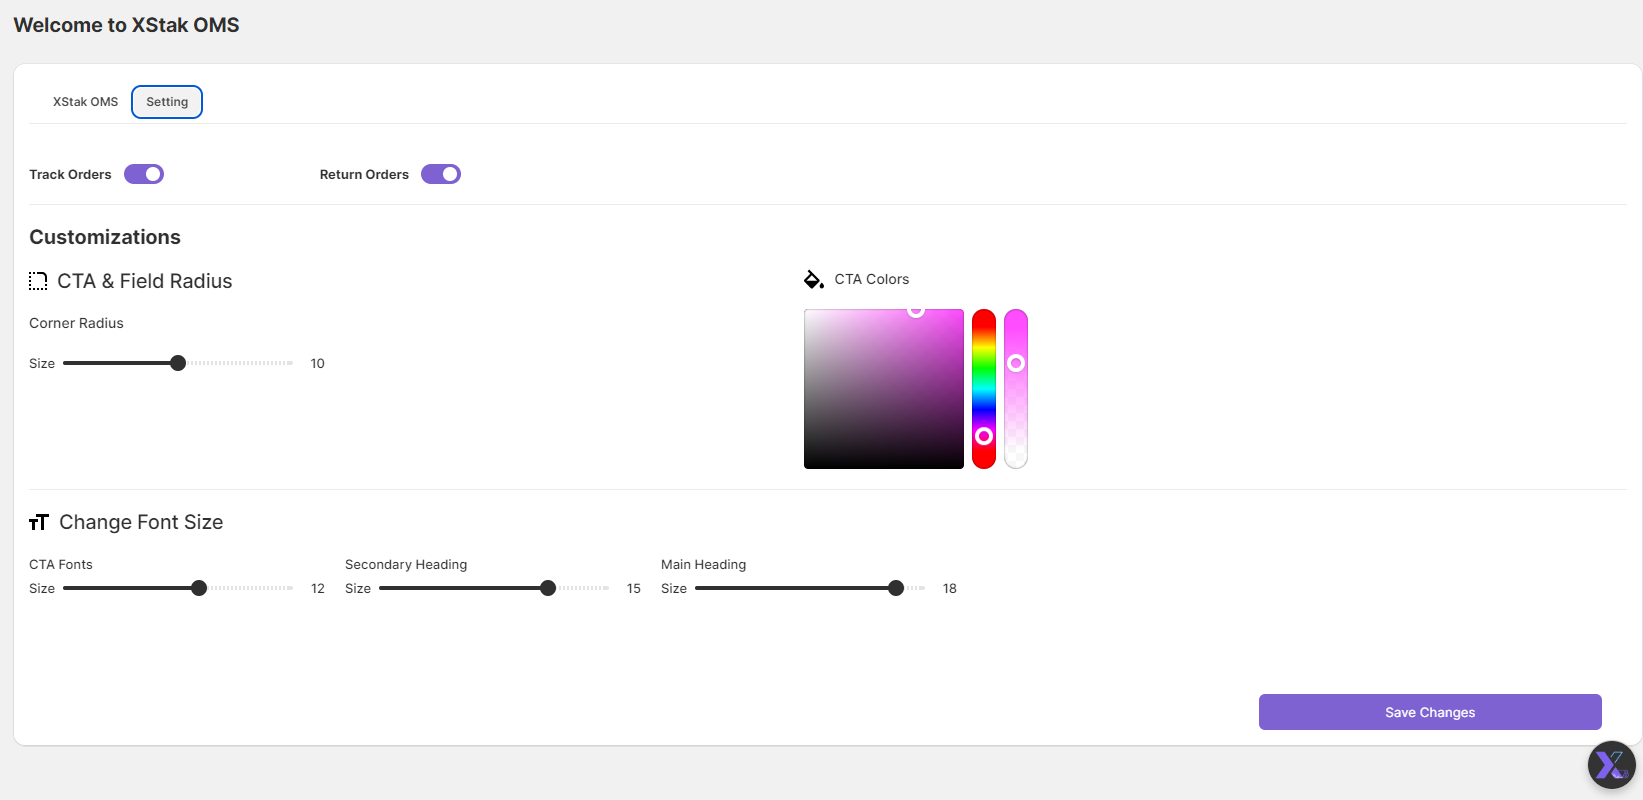
Step 1: Enable Tracking in XStak OMS
Open the XStak OMS Shopify app.
Navigate to the Settings tab.
Enable the toggle button for Track Order.
Customize your tracking page using the provided customization settings.
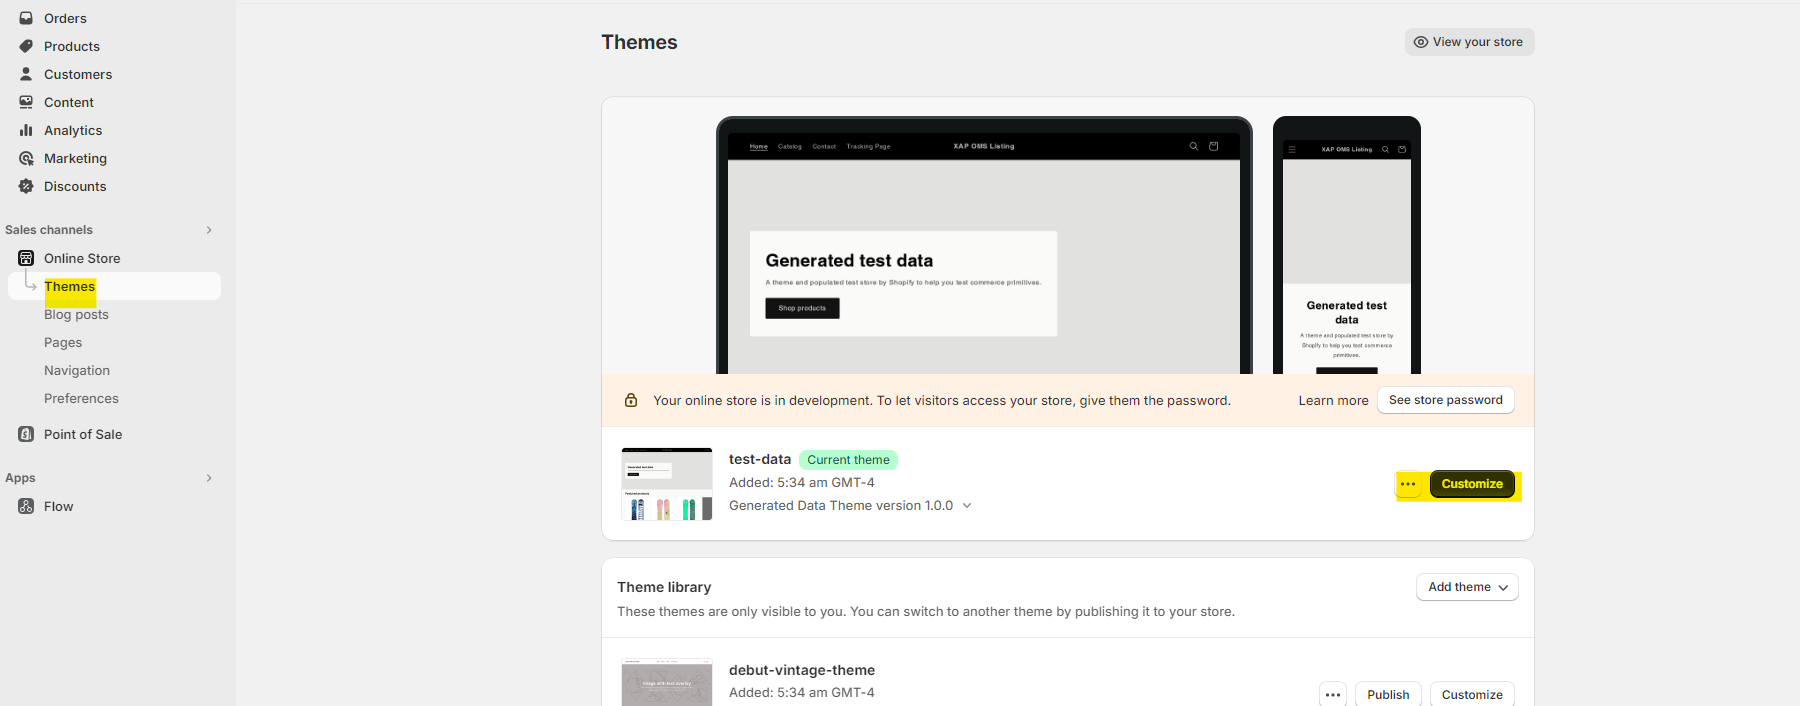
Step 2: Add Tracking Page to Your Shopify Store
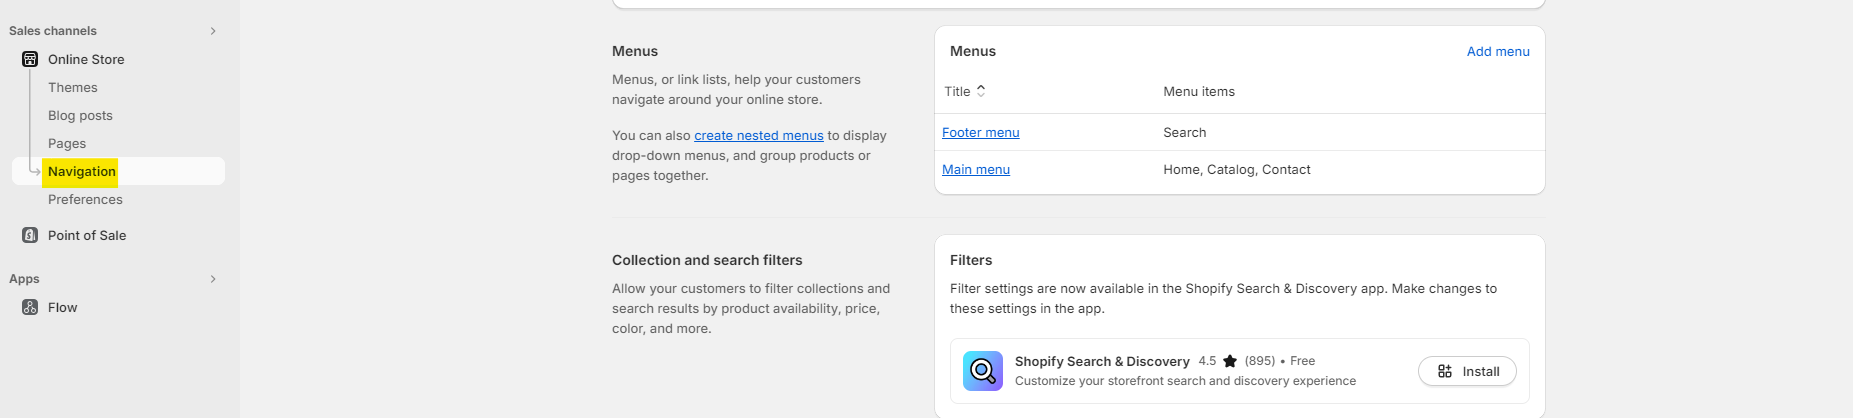
Go to the Navigation page of your Shopify store under the Online Store section.
To enable the tracking page in the Theme app extension, select the placement of the tracking page in the Menus option.
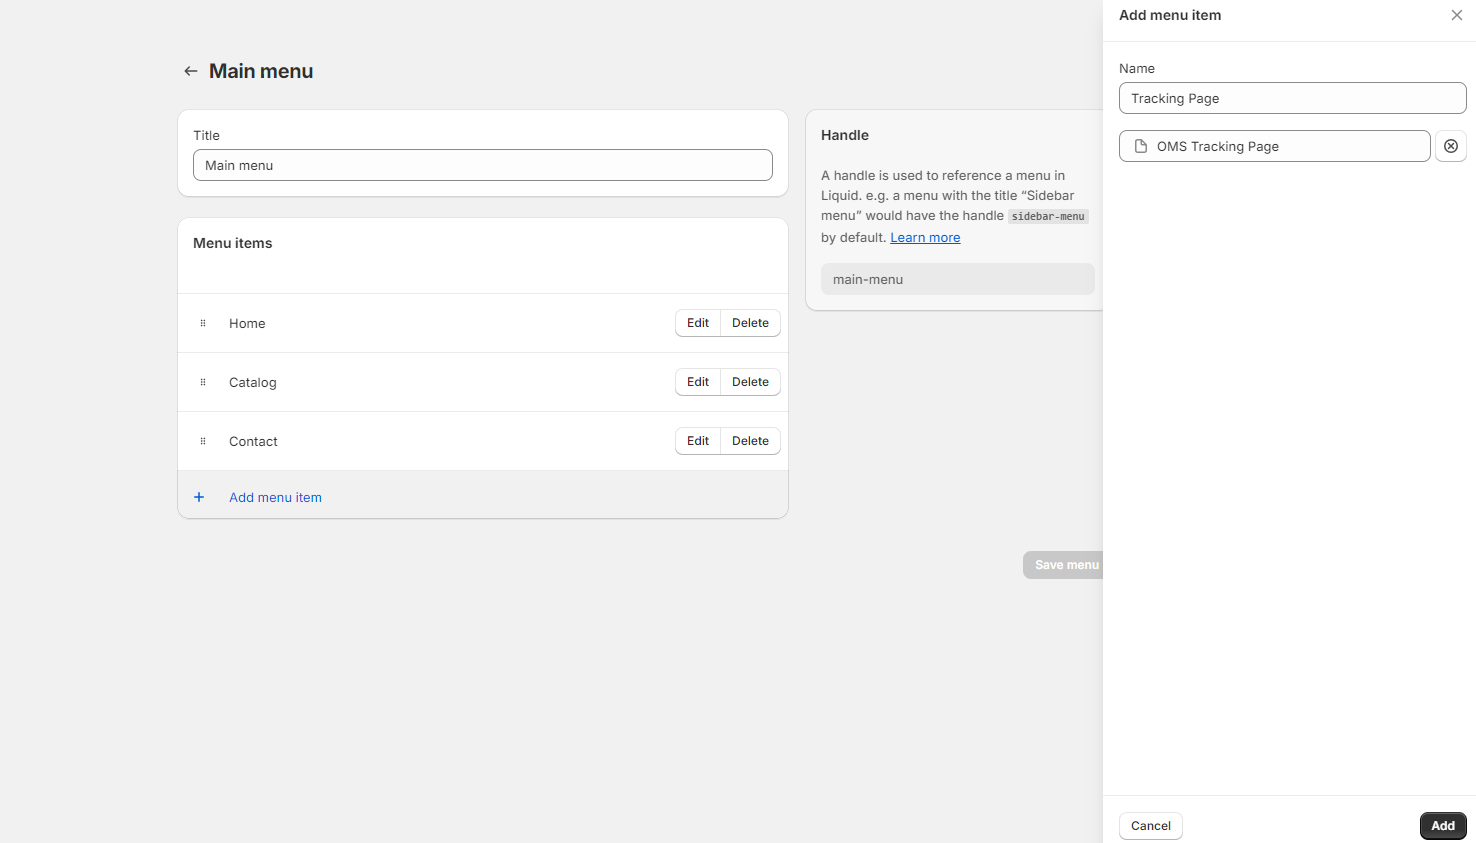
Step 3: Configure the Tracking Page in Menus
In the selected menu, click on Add Menu Item.
A slider will open where you can add a name for your tracking page. This name will appear on the storefront.
In the next field, select the Pages option.
Then select OMS Tracking Page.
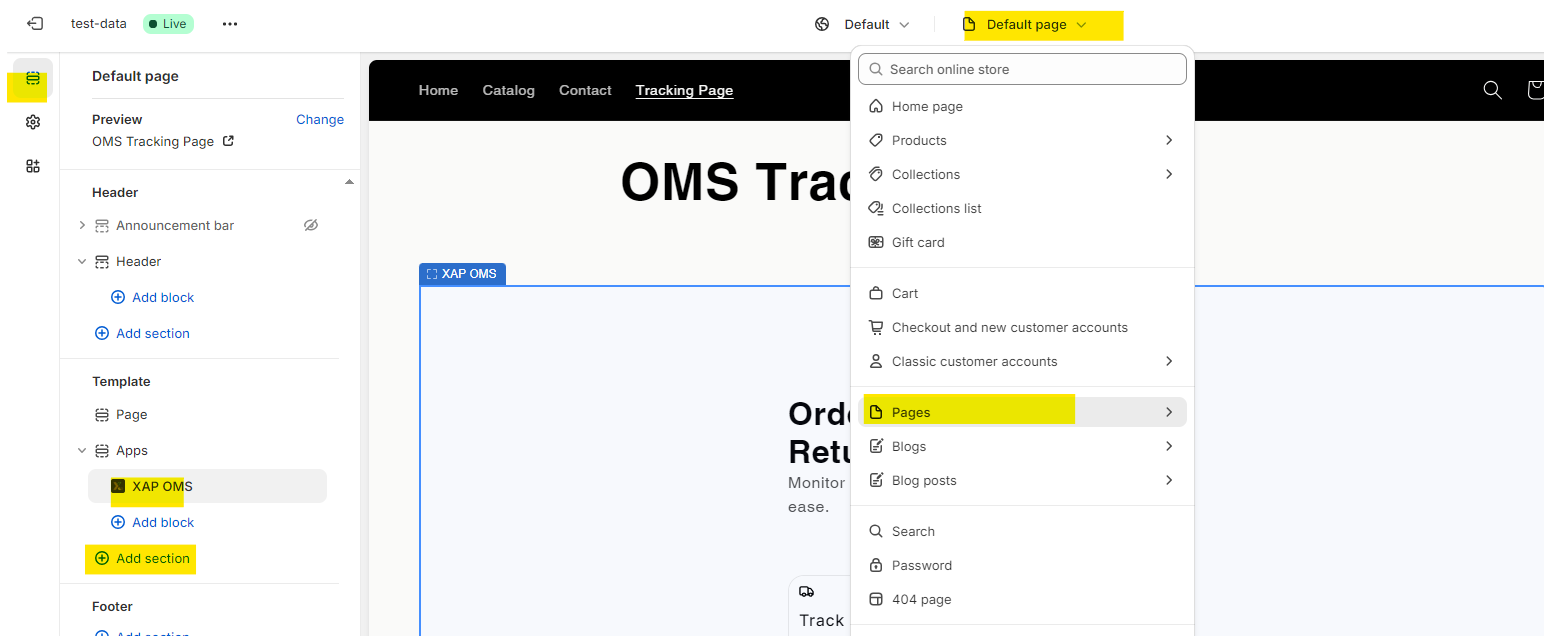
Step 4: Configure the Tracking Page in Theme Settings
Go to the Customize section in the Online Store.
Select Pages from the dropdown of Online Store Pages.
In Pages, you will find an option for Default Page. Select Default Page.
On the left side, under Template, you have the option to add an app. Select XAP OMS here.This will enable Tracking page on the storefront.