
How to Add Gender Dropdown on Checkout
The Gender Dropdown feature in XStak: Easy Checkout allows you to capture customer gender information easily during the checkout process. Here’s a step-by-step guide to setting it up:
Step 1: Open XStak: Easy Checkout
Go to your Shopify Admin.
Click on Apps from the left-hand menu.
Find and select XStak: Easy Checkout from your list of installed apps.
This will open the XStak: Easy Checkout dashboard.
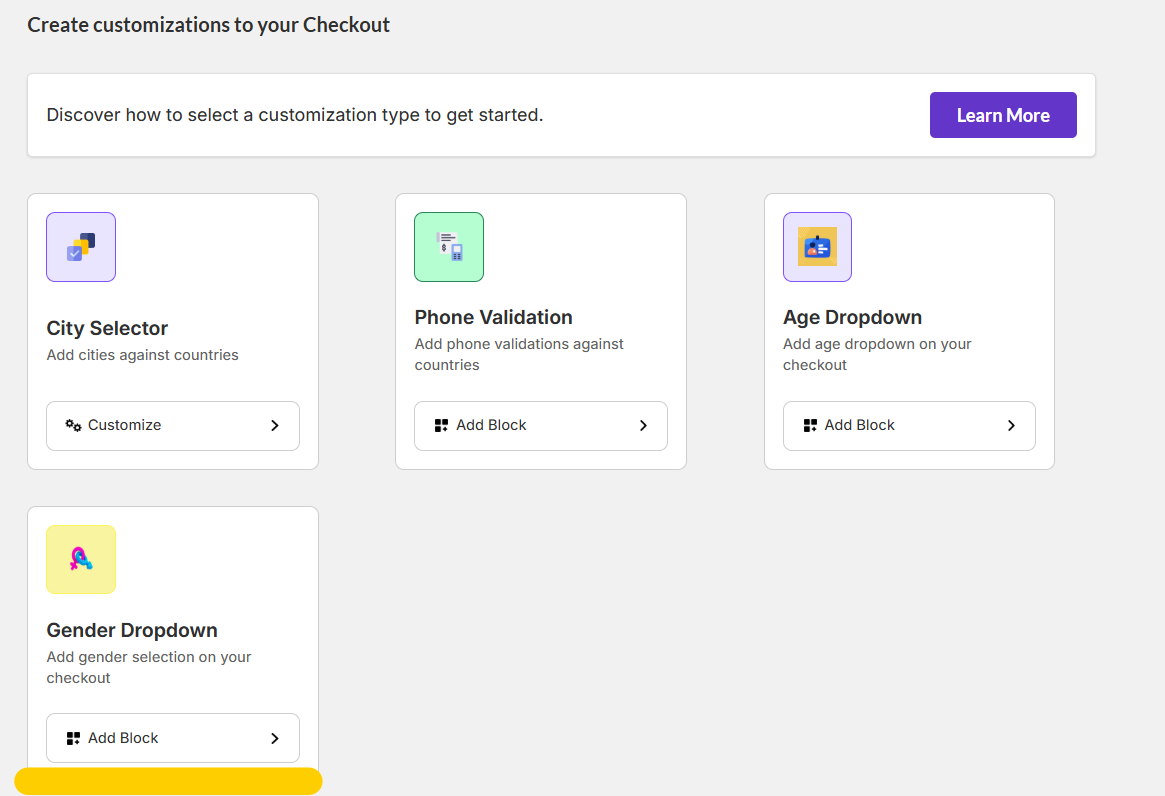
Step 2: Add the Gender Dropdown Block
Inside the app dashboard, locate the Gender Dropdown card.
Click on the Add Block button under the Gender Dropdown section.
You will be redirected to the Shopify Checkout Editor.
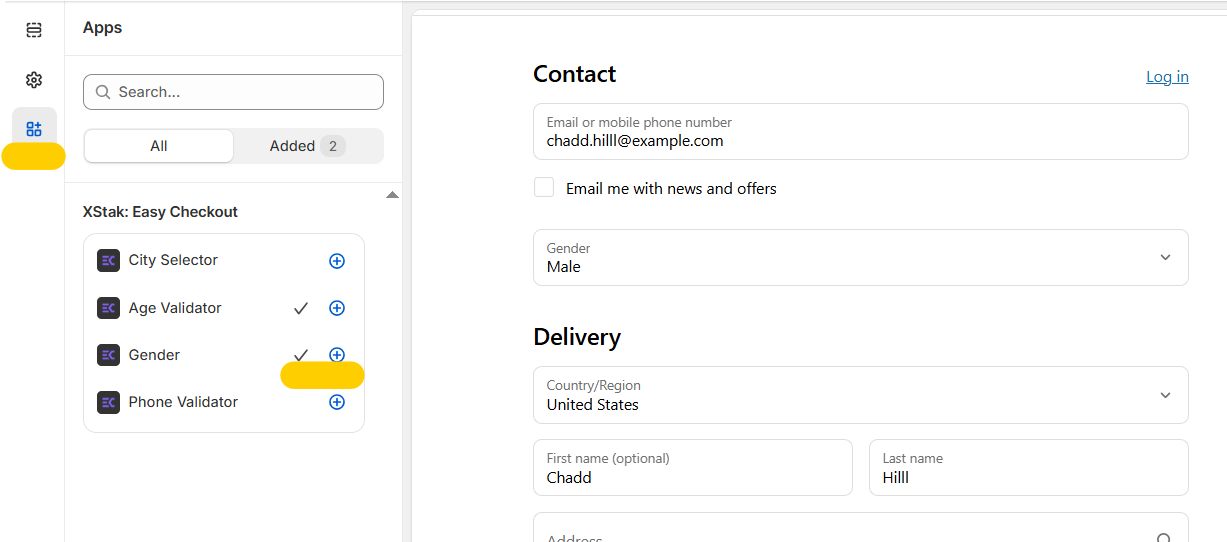
Step 3: Insert the Gender Dropdown into Your Checkout
In the Shopify Checkout Editor, look for the XStak: Easy Checkout blocks in the sidebar.
Click on the + (plus) icon next to the Gender Dropdown option to add it to your checkout page.
The Gender Dropdown block will now appear, ready for customization.
Step 4: Customize Gender Dropdown Values
In the theme app extension settings, you can define the Gender options.
Enter the gender values separated by commas (for example:
Male, Female, Non-binary, Prefer not to say).Save your changes after adding the desired options.
Step 5: Save and Publish
After configuring the dropdown options, click Save in the Checkout Editor.
Your Shopify checkout will now display the Gender Dropdown for customers to select their gender.