
How to Add Cities in XStak: Easy Checkout
Access the Landing Page:
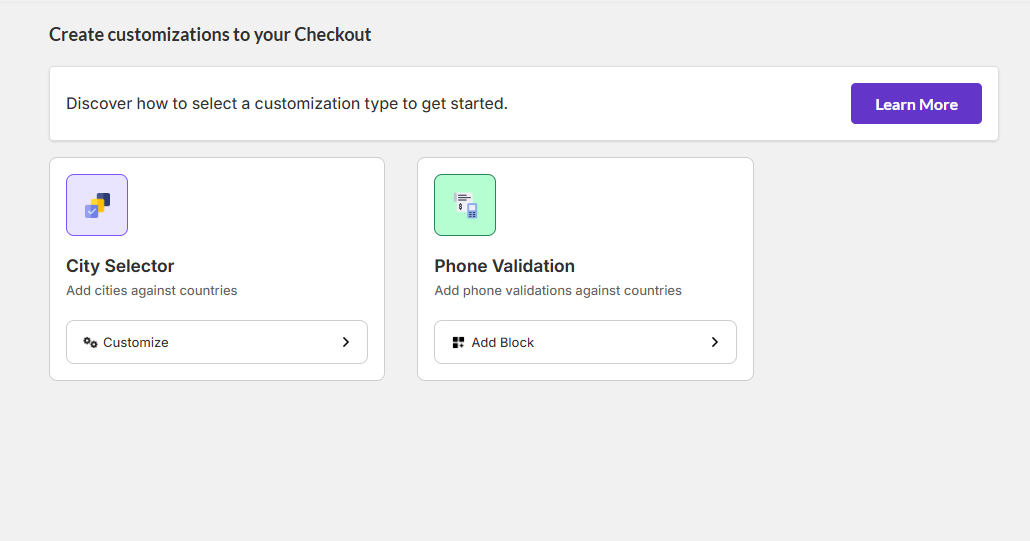
After installing the app, you’ll be automatically redirected to the app’s landing page, as shown below.Navigate to City Selector:
Find the “City Selector” card and click on "Customize." This will take you to the “Add City” screen.
Add Cities to a Country:
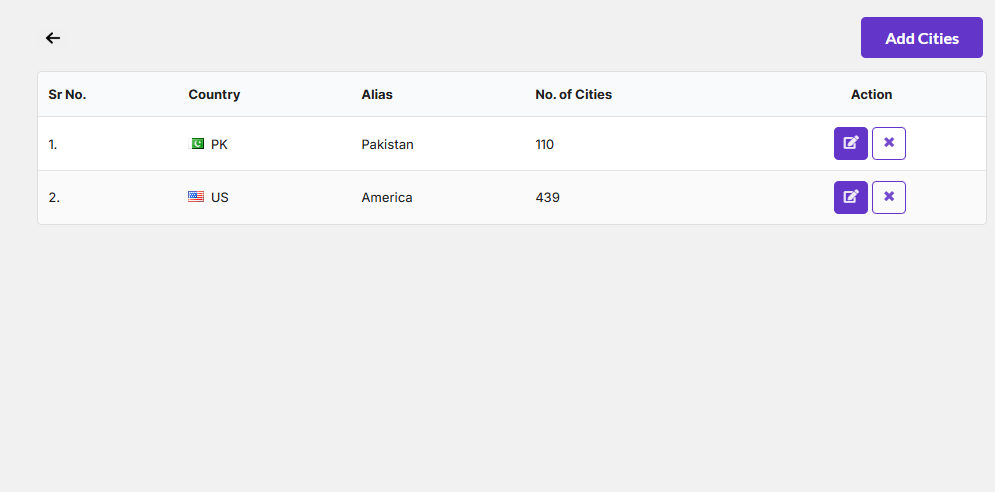
In the top-right corner, click Add Cities to add cities for any country.
A popup screen will appear.
Select Country and Add Cities:
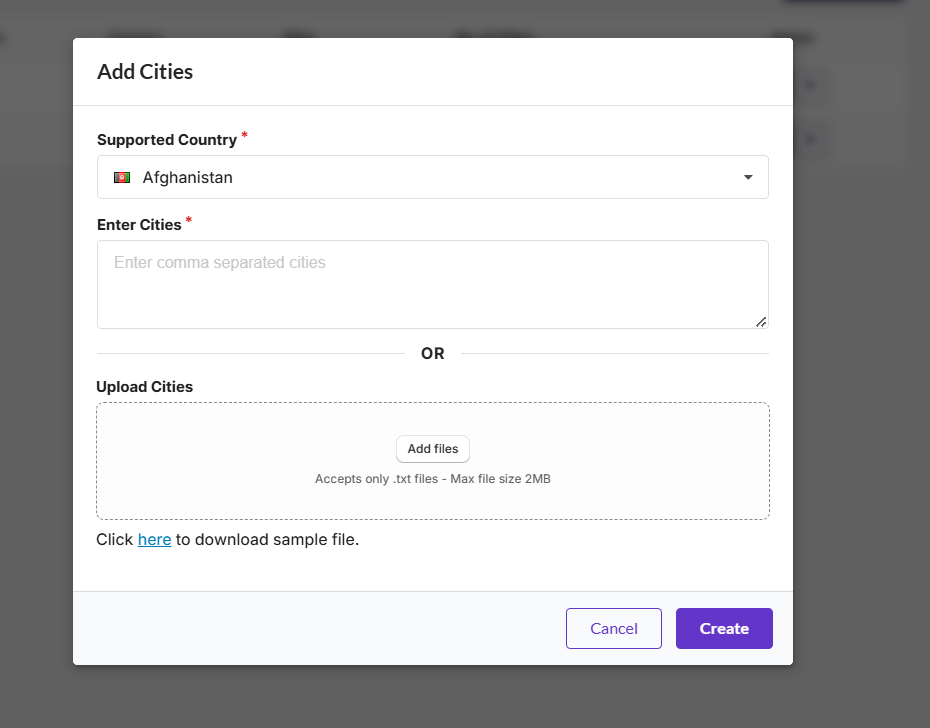
Choose a supported country from the dropdown list.
Enter cities as a comma-separated list, or upload a CSV file with cities listed.
A sample CSV file is provided for your reference.
Save Changes:
Once you’ve added the cities, click Create to save. The changes will be reflected on the “Add Cities” screen.
Follow these steps to ensure a smooth setup for your city dropdown.