
The Age Dropdown feature in XStak: Easy Checkout allows you to collect customer age groups directly at the checkout. Here's a step-by-step guide on how to set it up:
Step 1: Open XStak: Easy Checkout
-
Go to your Shopify Admin.
-
In the left-hand menu, click on Apps.
-
Find and select XStak: Easy Checkout from the list of installed apps.
-
This will open the XStak: Easy Checkout dashboard.
Step 2: Add the Age Dropdown Block
-
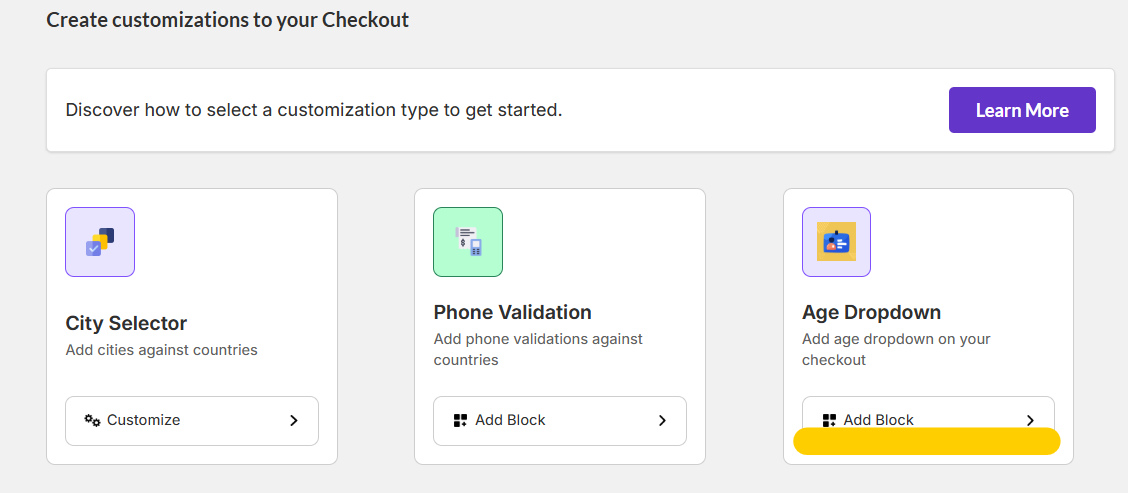
Inside the app dashboard, locate the Age Dropdown card.
-
Click on the Add Block button within the Age Dropdown section.
-
You will be automatically redirected to the Shopify Checkout Editor.
Step 3: Insert the Age Dropdown into Your Checkout
-
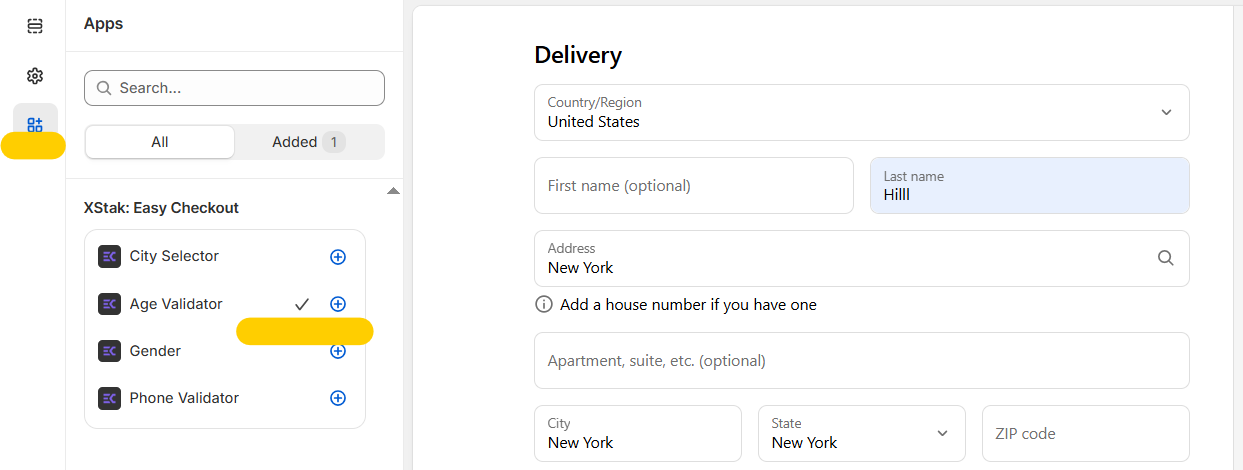
In the Shopify Checkout Editor, find XStak: Easy Checkout blocks in the sidebar.
-
Click on the + (plus) icon next to the Age Dropdown option to add it to your checkout.
-
The Age Dropdown block will now appear where you can customize its settings.
Step 4: Customize Age Dropdown Values
-
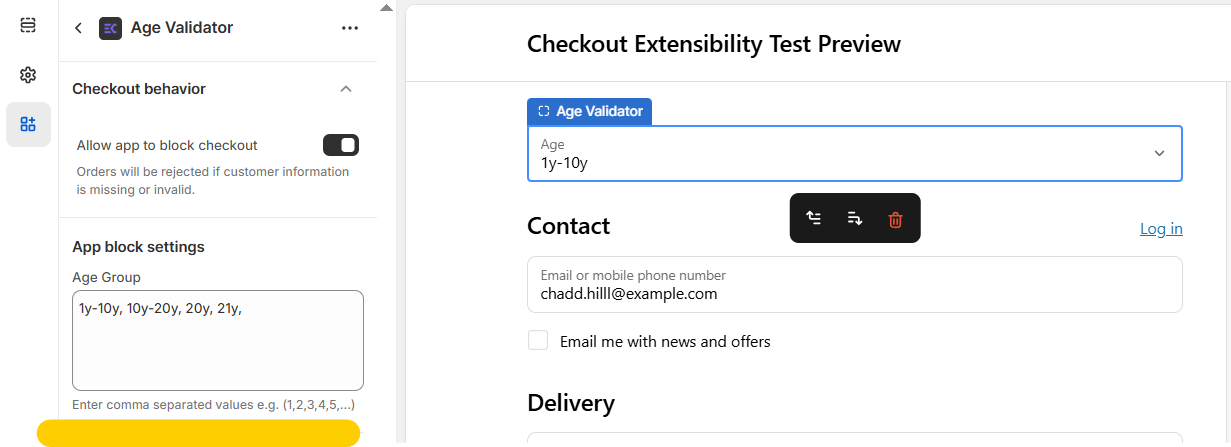
In the theme app extension settings, you can define the Age Groups.
-
Enter multiple age values separated by commas (for example:
18-24, 25-34, 35-44, 45+). -
Save your changes once you’ve added all the options you want.
Step 5: Save and Publish
-
After configuring the dropdown, click Save in the Checkout Editor.
-
Your Shopify checkout will now include the Age Dropdown for customers to select their age group.