
Tag Management
The Tag Management section allows you to create, manage, and organize all tags used within the Order Management System (OMS). Tags help categorize orders for easy filtering, reporting, and operational visibility. From this tab, you can:
View all existing system-defined and custom tags
Add new tags individually or in bulk
Manage tag visibility in filters and order details
Assign tags to specific orders
Delete tags that are no longer needed
This feature ensures that your operations team can maintain a clean, organized tagging structure, making it easier to classify orders and improve searchability throughout the OMS.
How to Manage Tags in OMS (Add, Assign & Delete Tags + Bulk Tagging)
1. Access Tag Management
Click on Settings from the sidebar.
Select Tags Management from the dropdown.
All pre-set tags will be visible here.
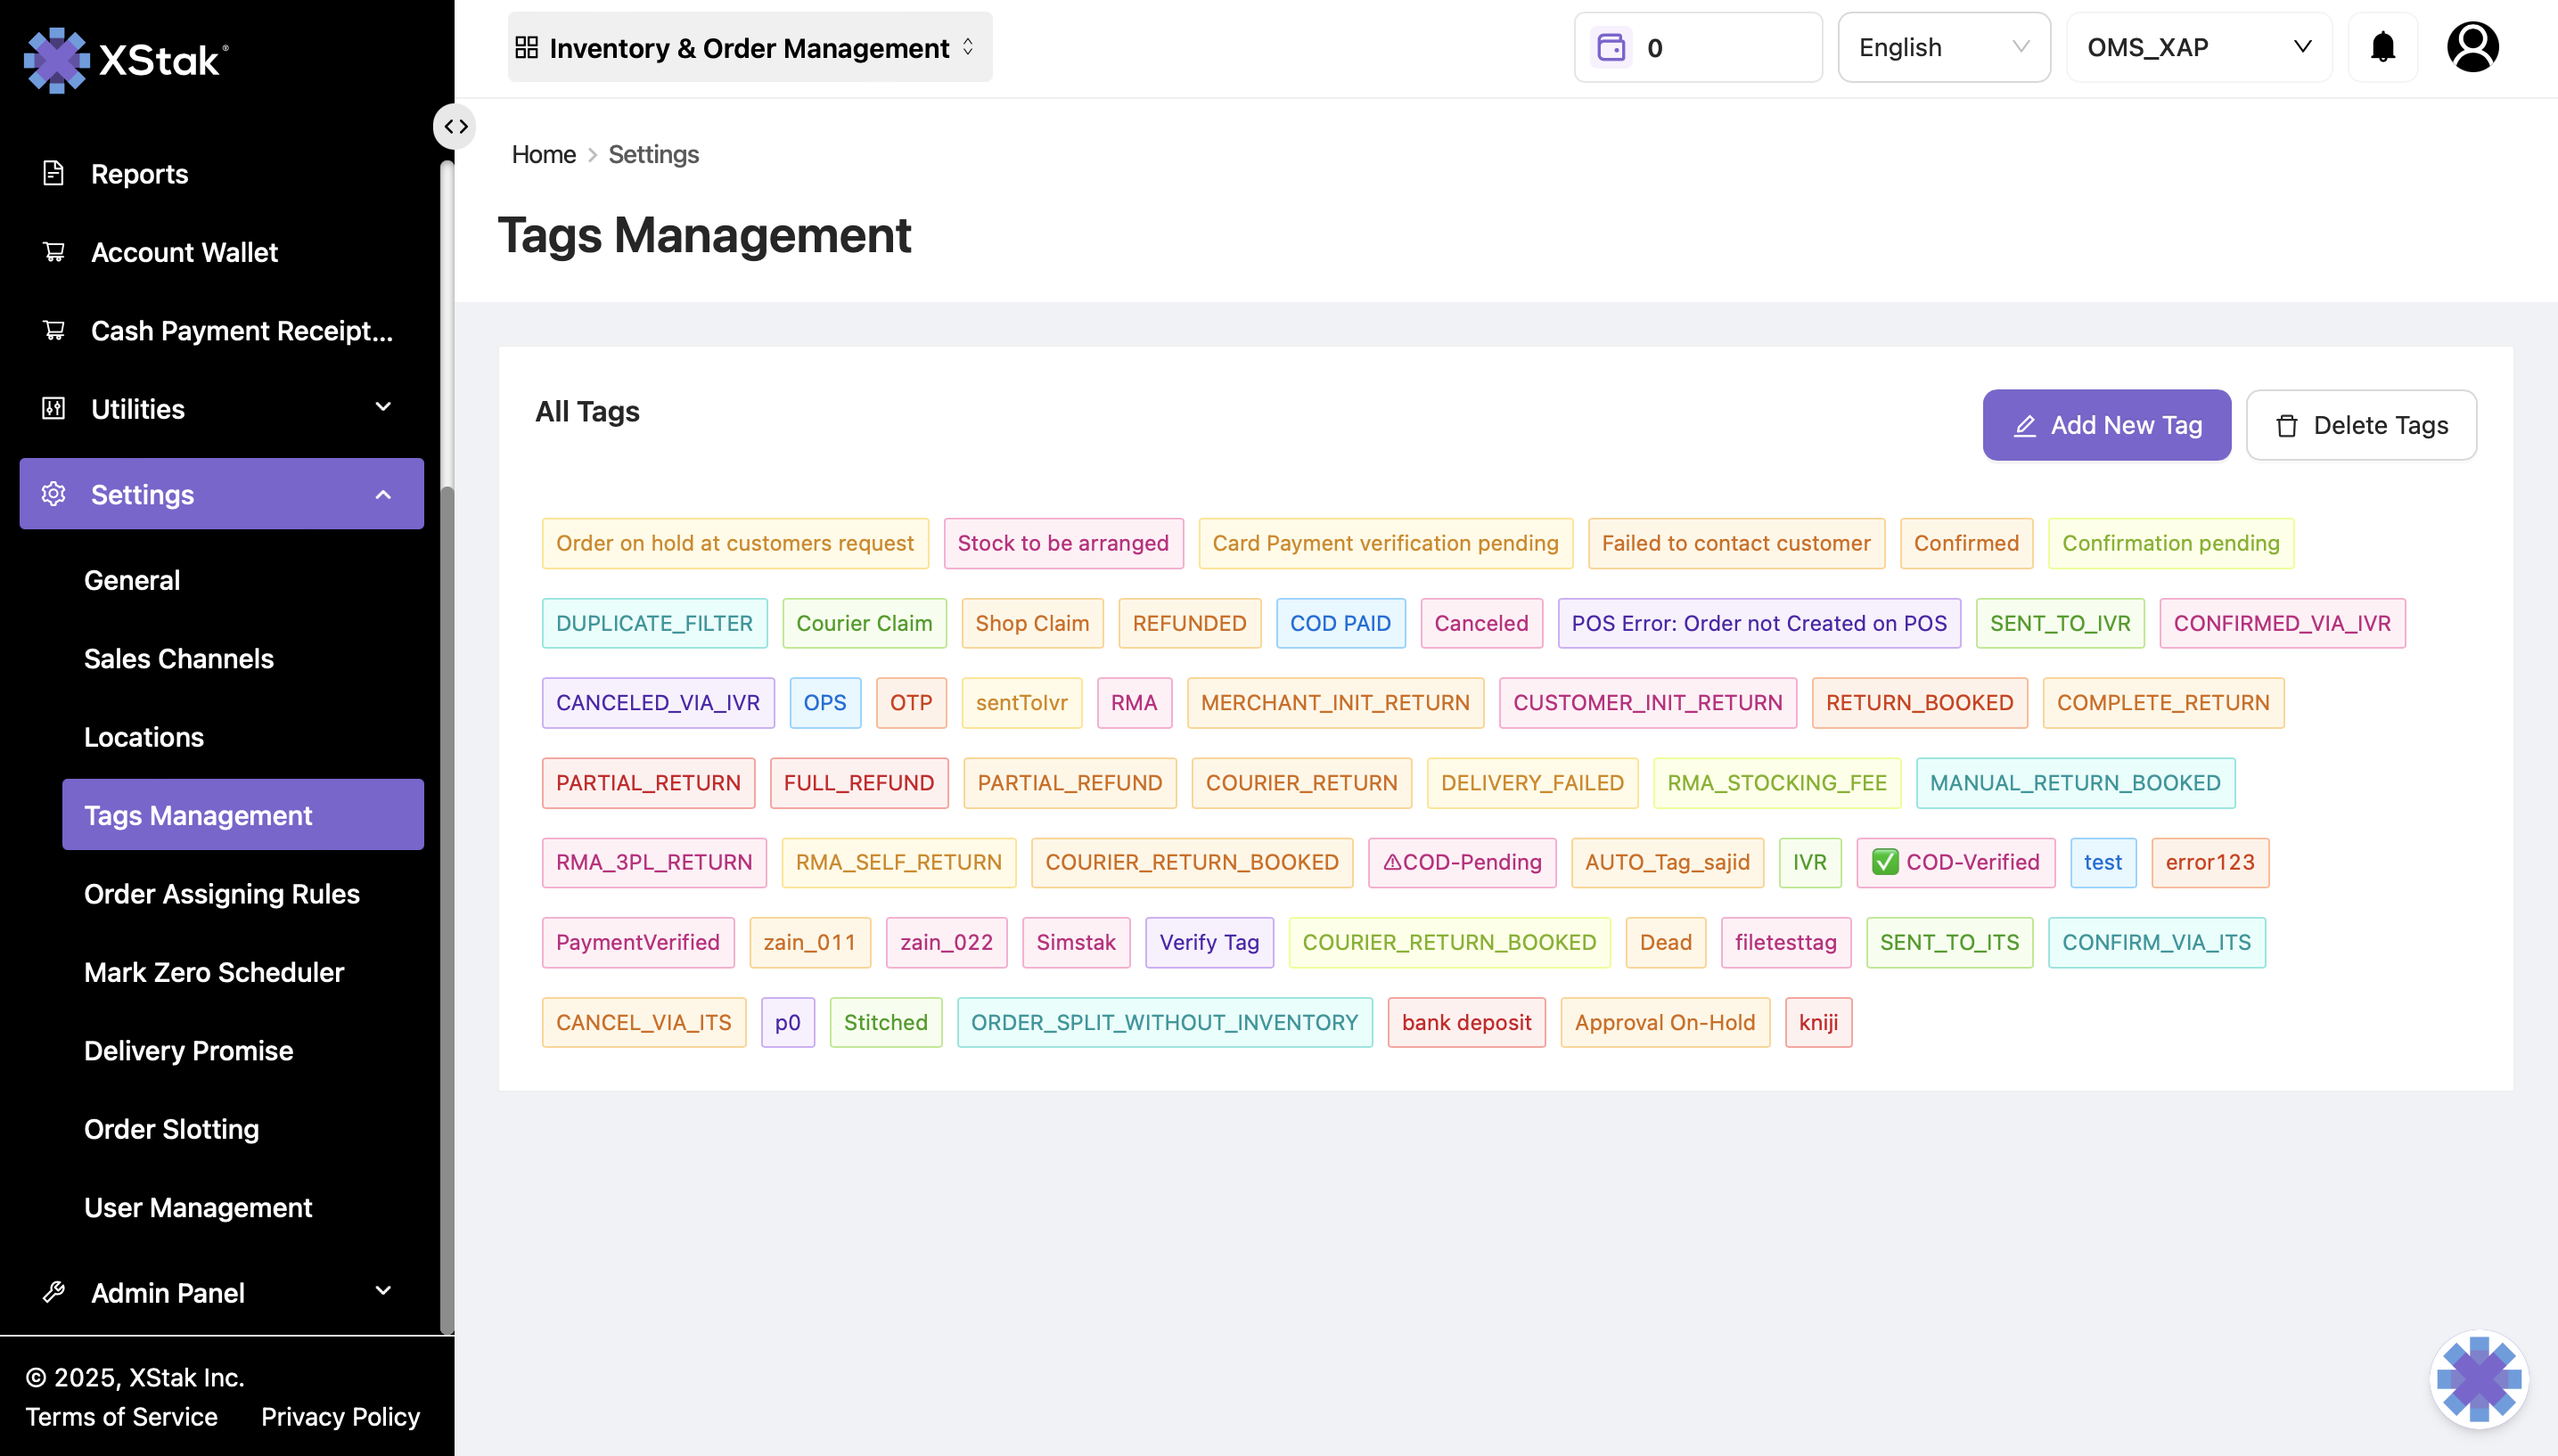
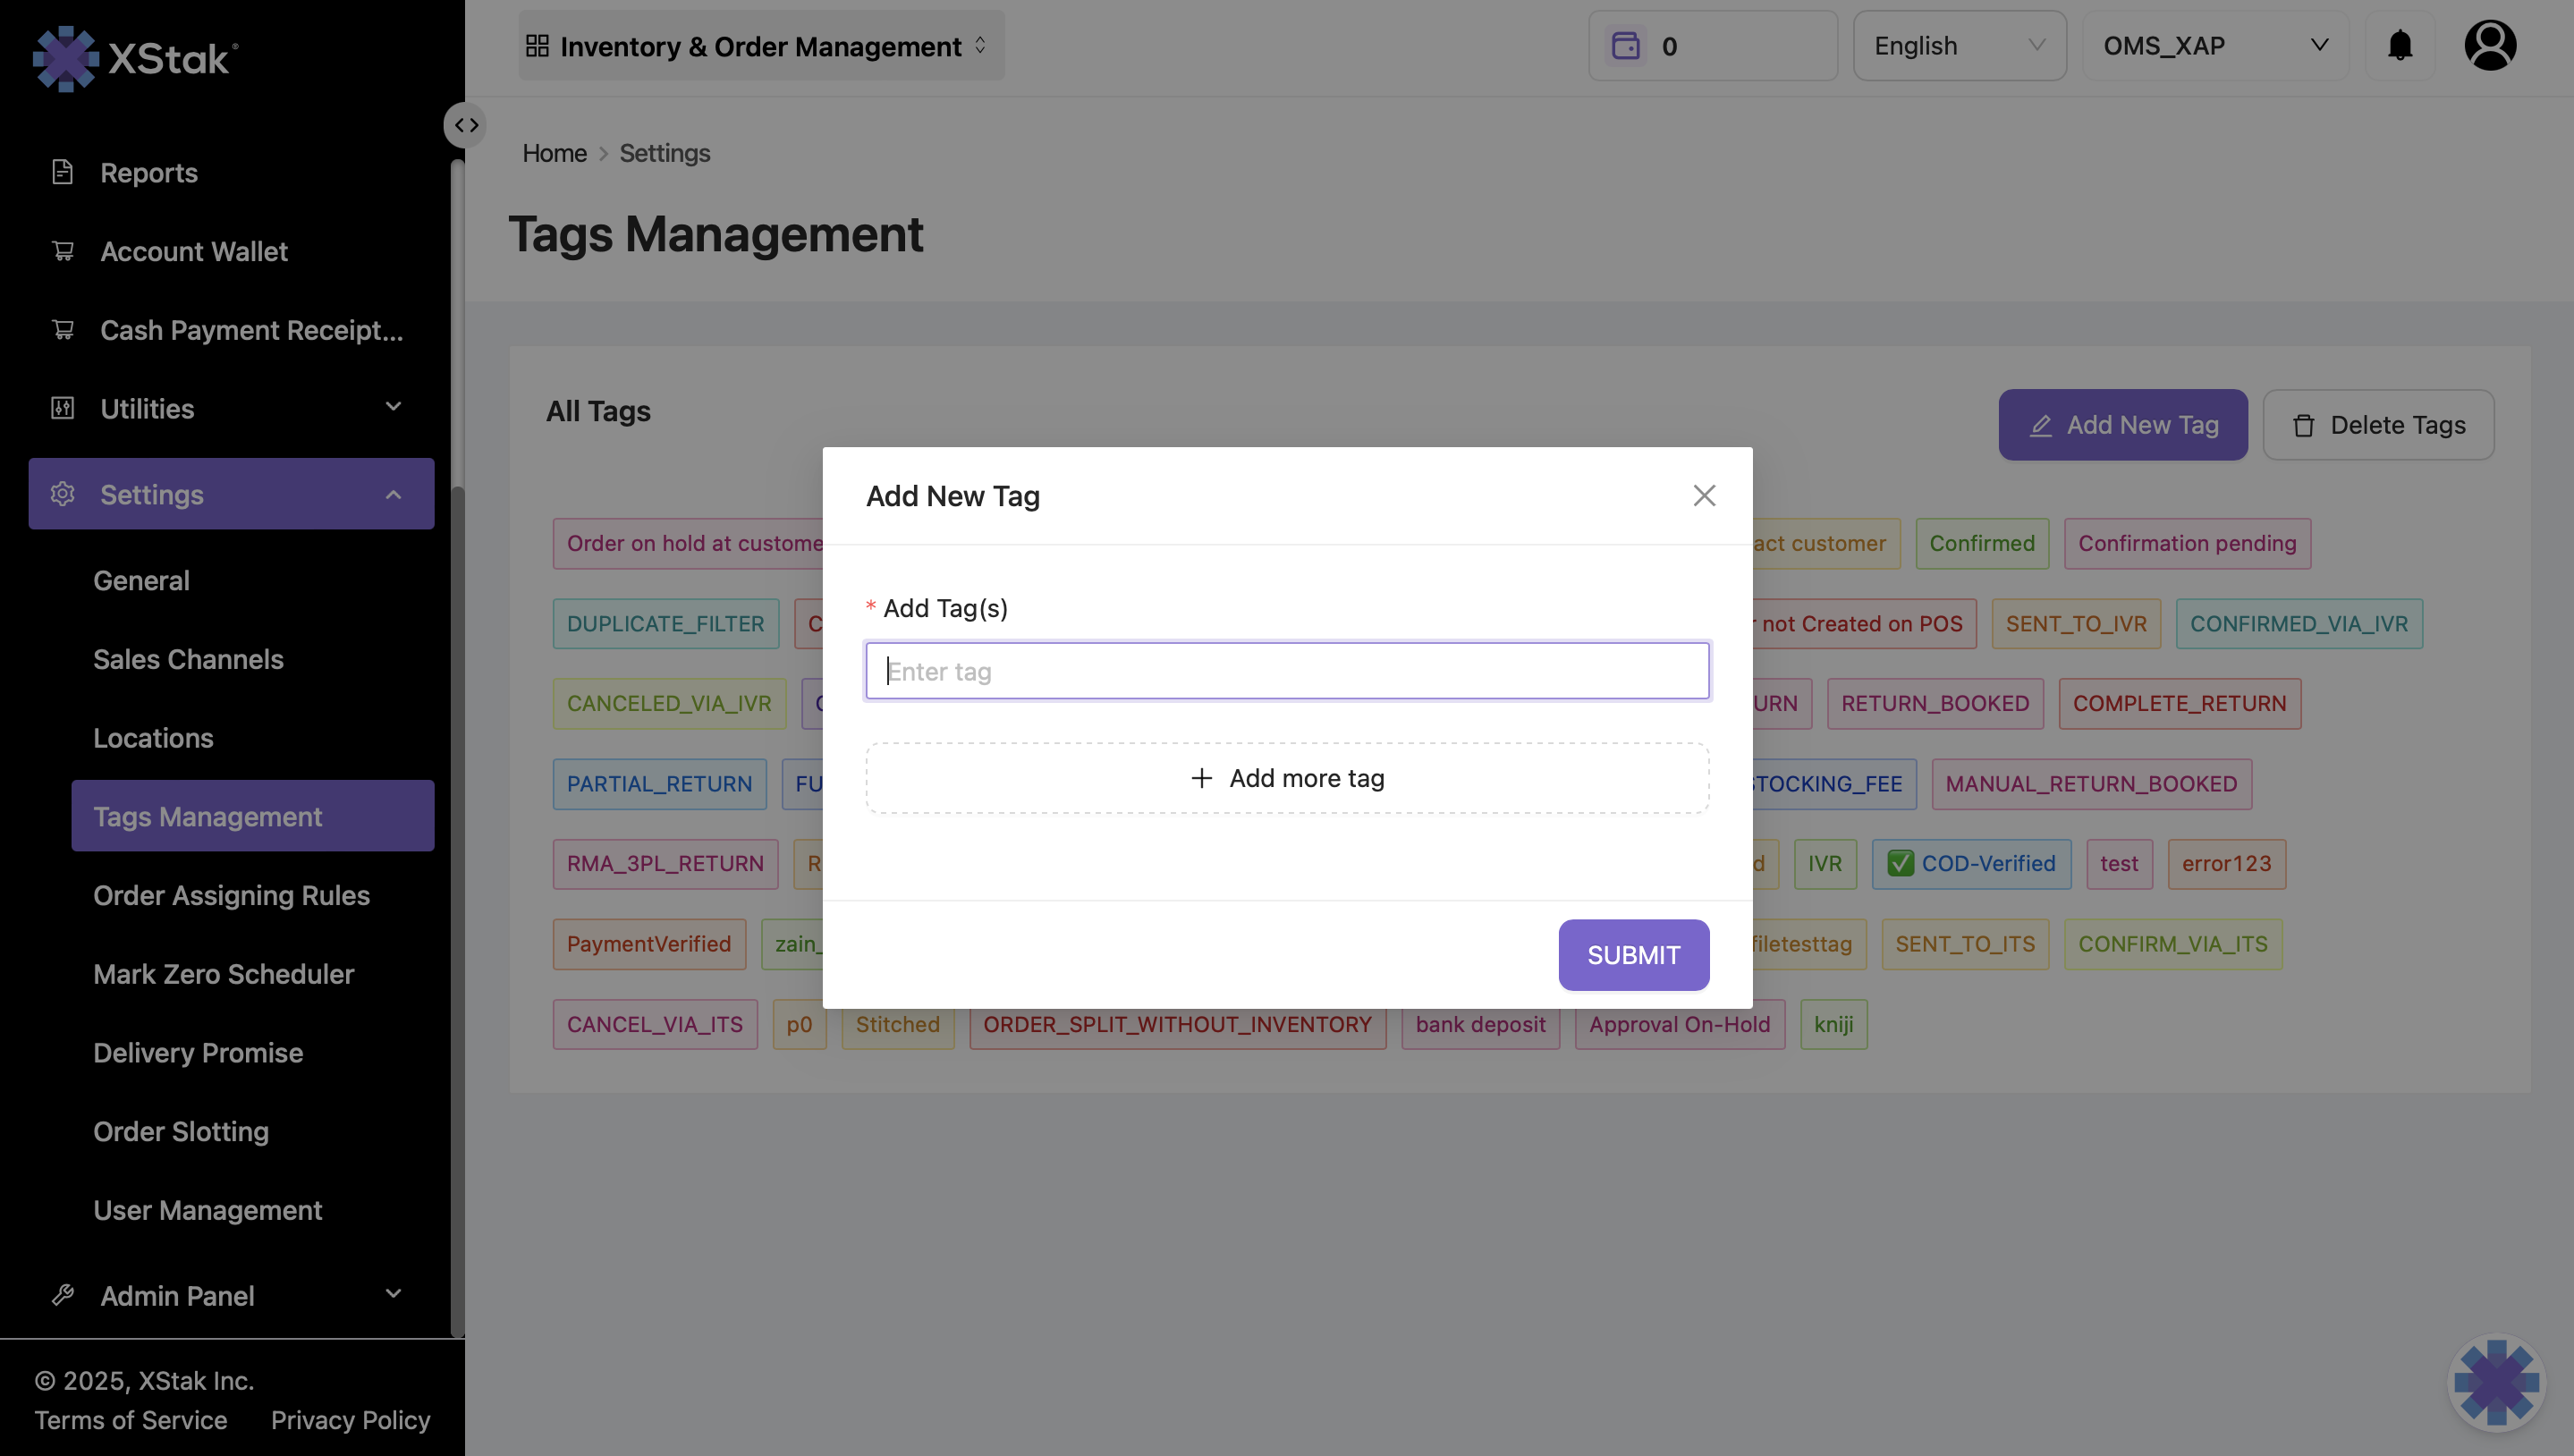
2. Add New Tags
Click on Add New Tag.
Enter the tags you want to add.
To add multiple tags, click Add more tag to insert additional tag fields.
Click the Submit button.
3. Assign Tags to an Order
Open the order you want to update.
Go to the Order Tags section.
Click on Add Tags.
Select the tags you want to add, then click Done.
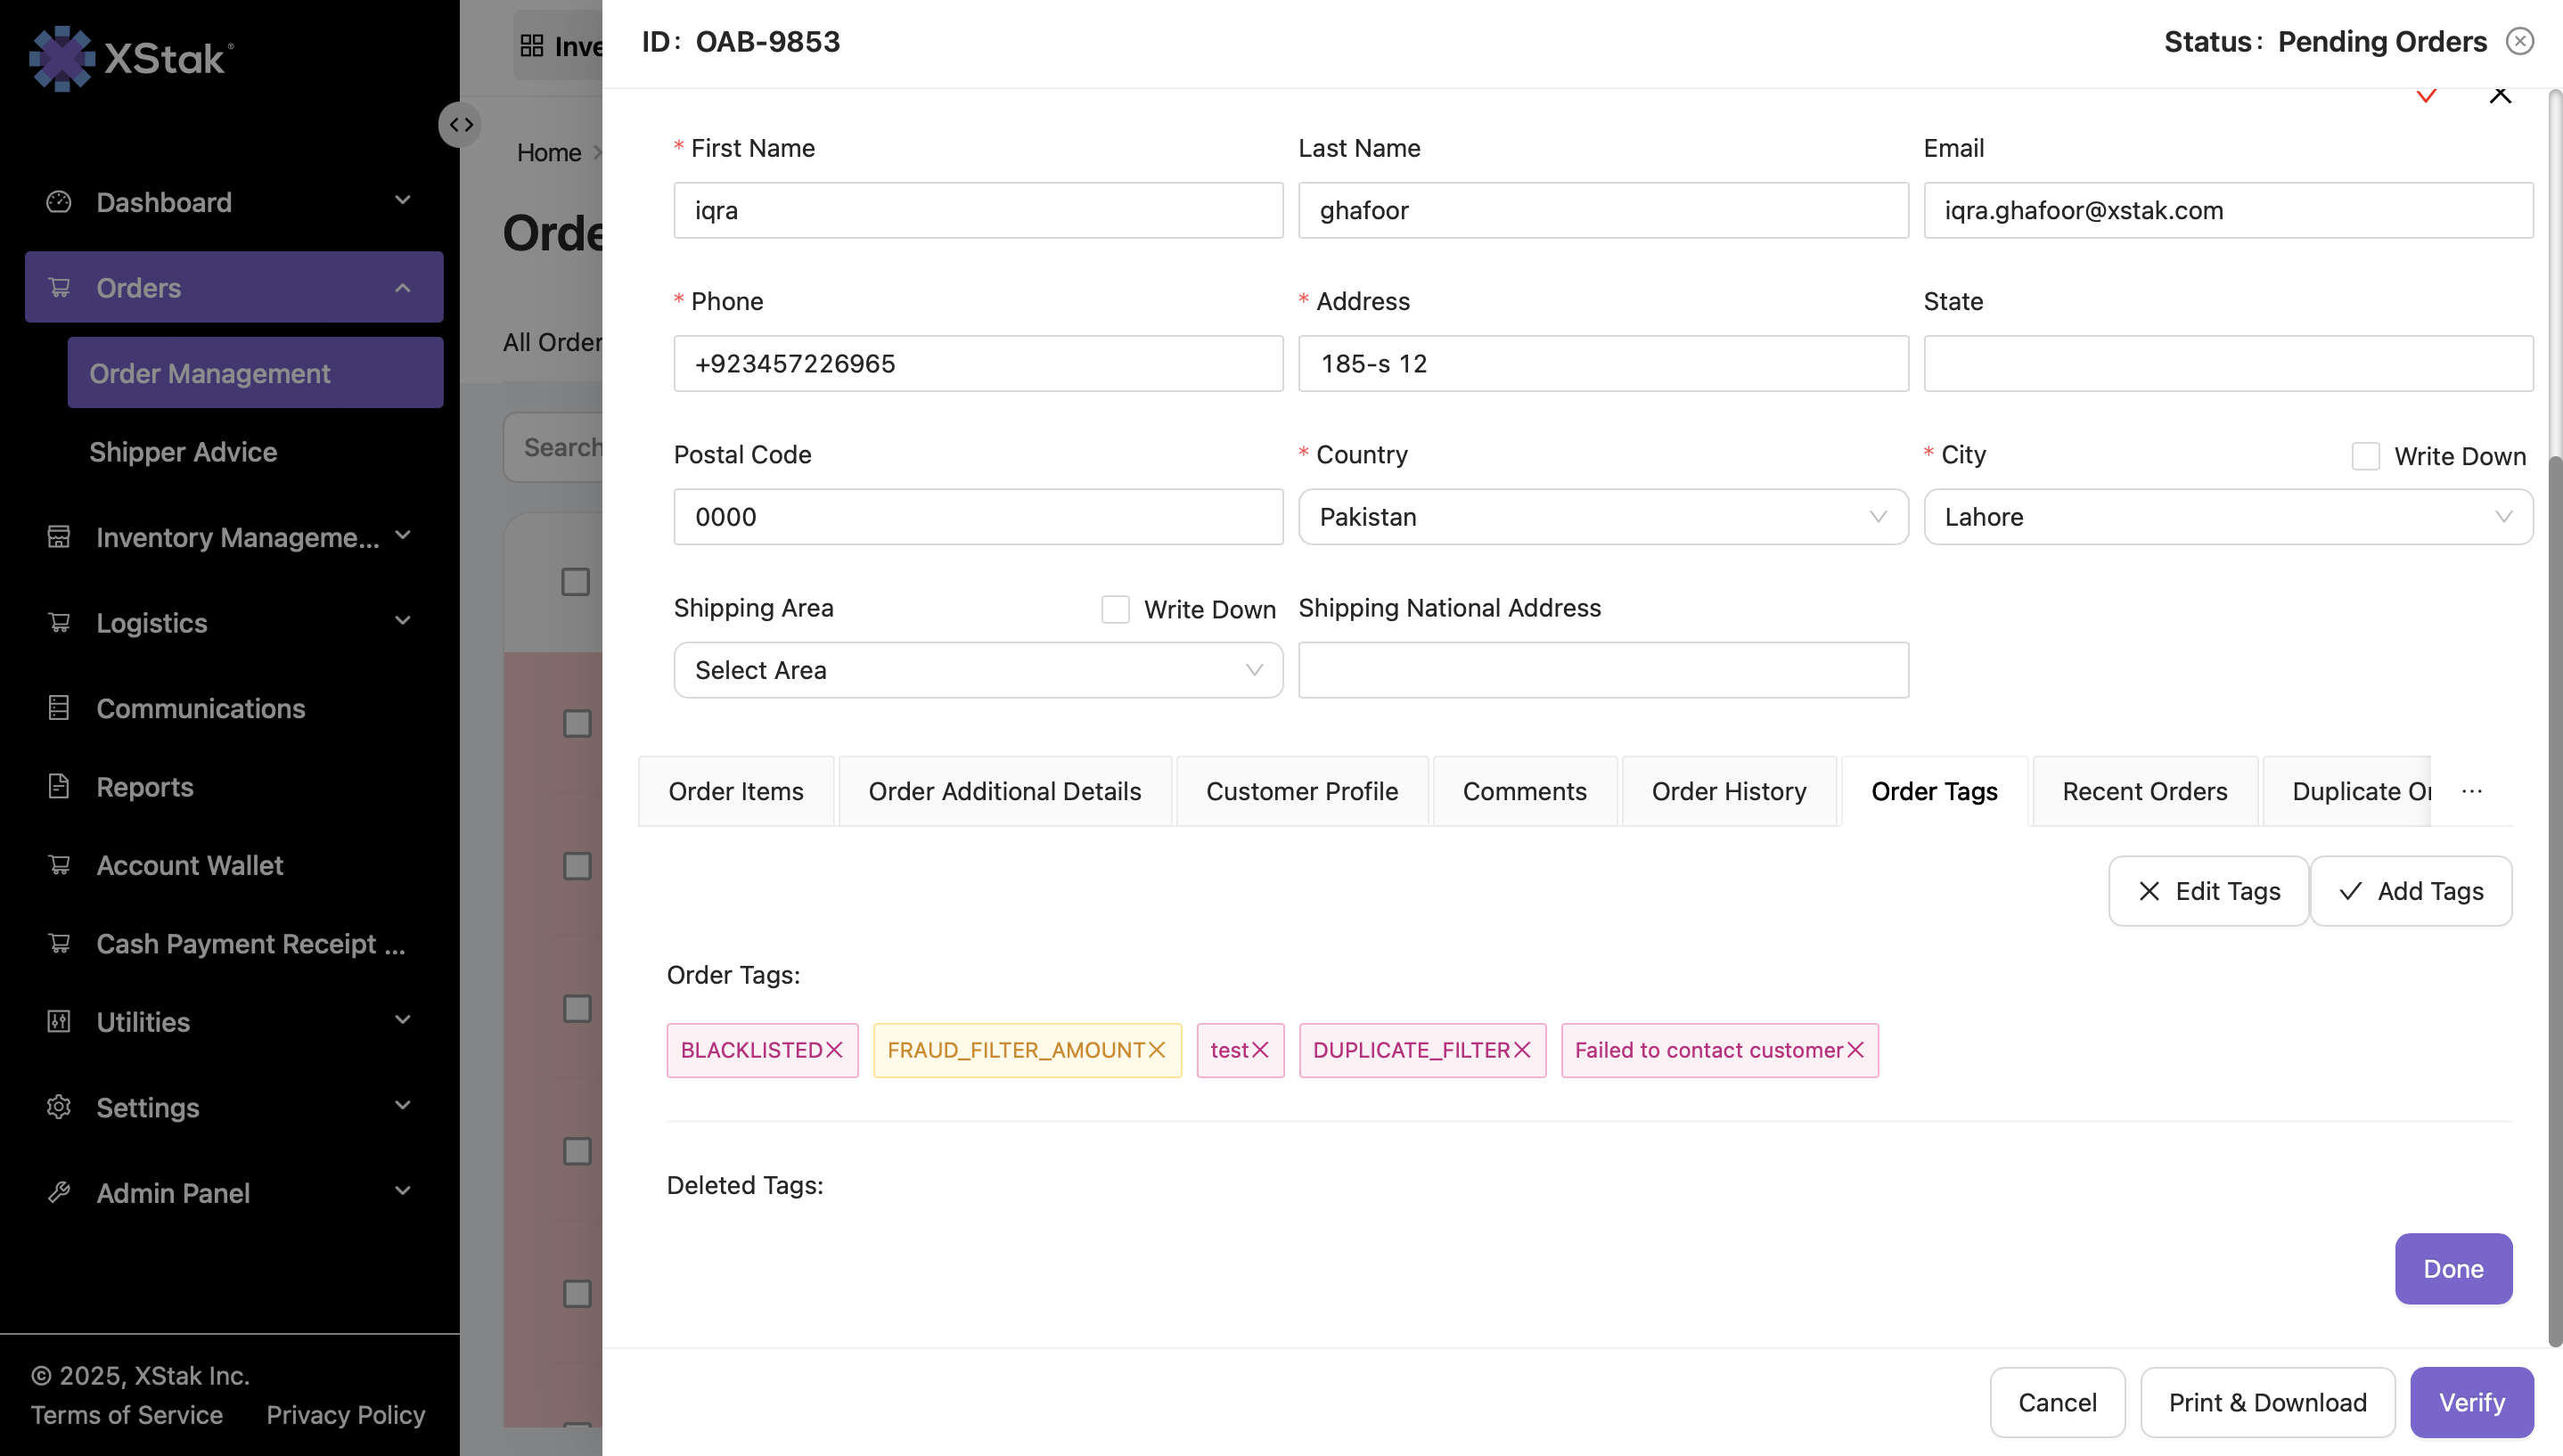
These tags will now appear for that order and can be used in filters.
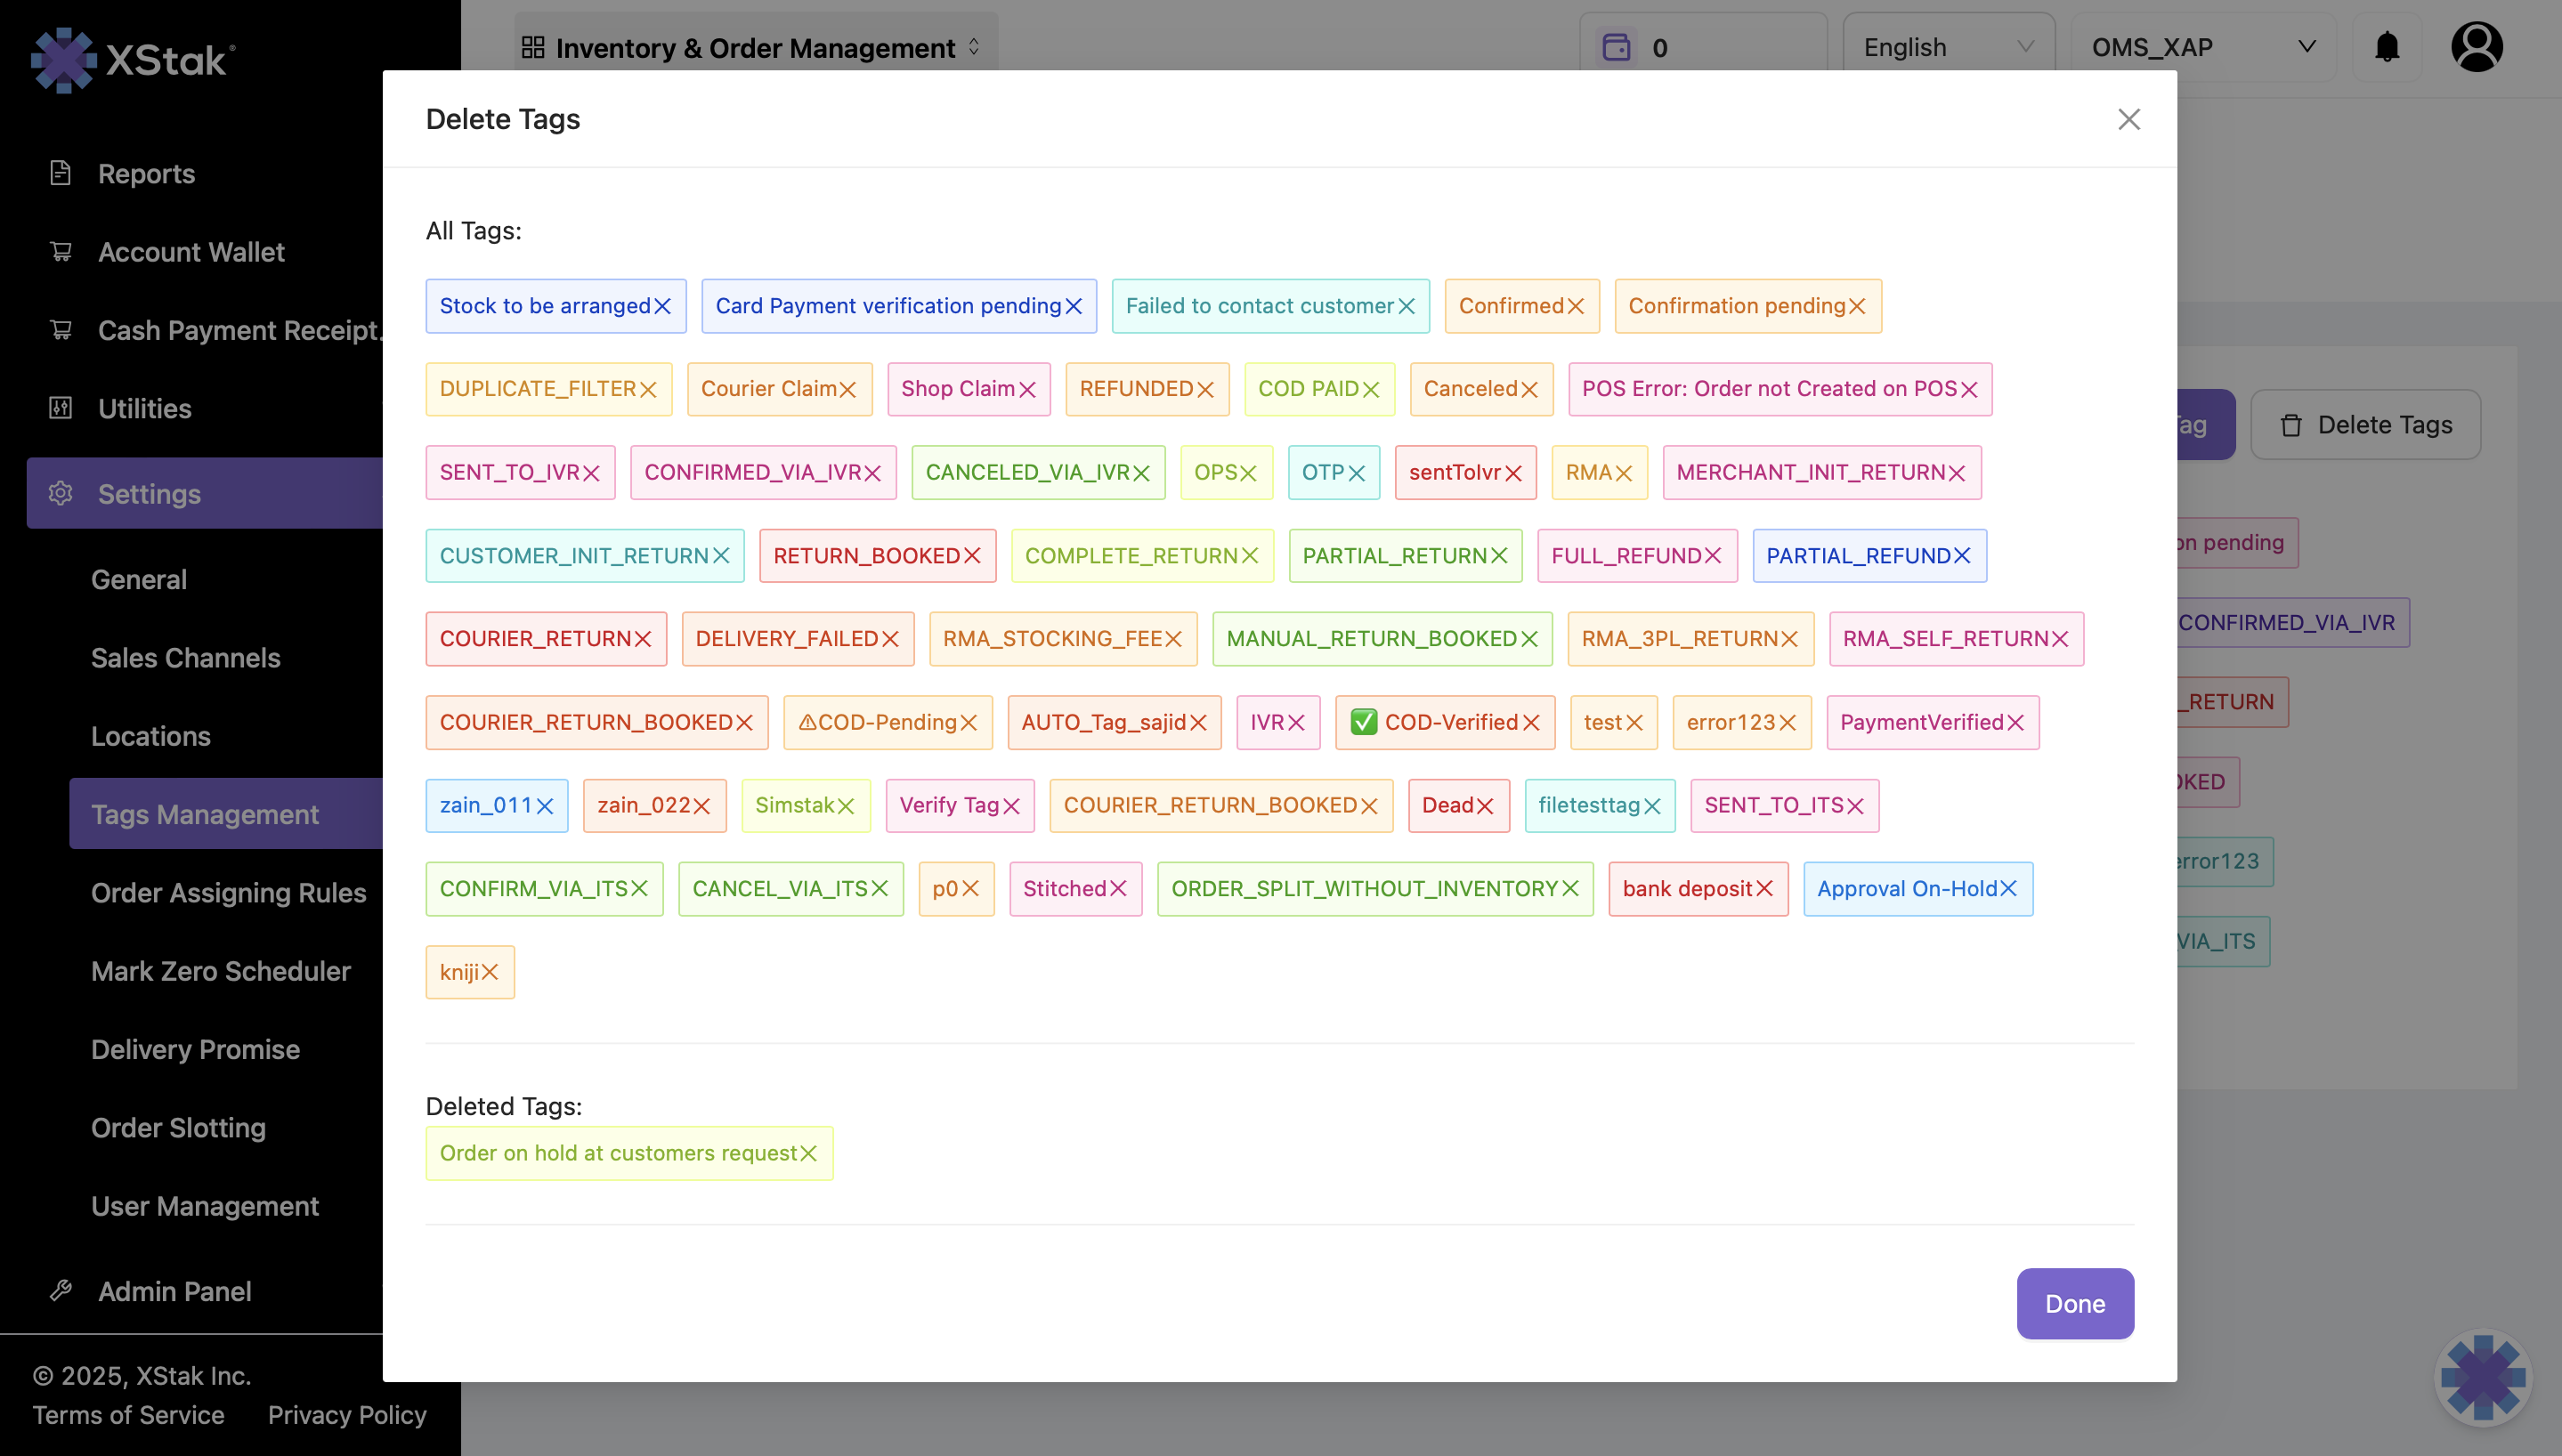
4. Delete Tags
Go to Settings → Tags Management.
Click on Delete Tags.
Select the tags you want to delete.
Click Done.
5. Add Tags in Bulk (Using a File)
Prerequisite:
Ensure the tags you want to use are already added in Tag Management.
Steps:
Click Order Management from the sidebar.
Click on Action via File.
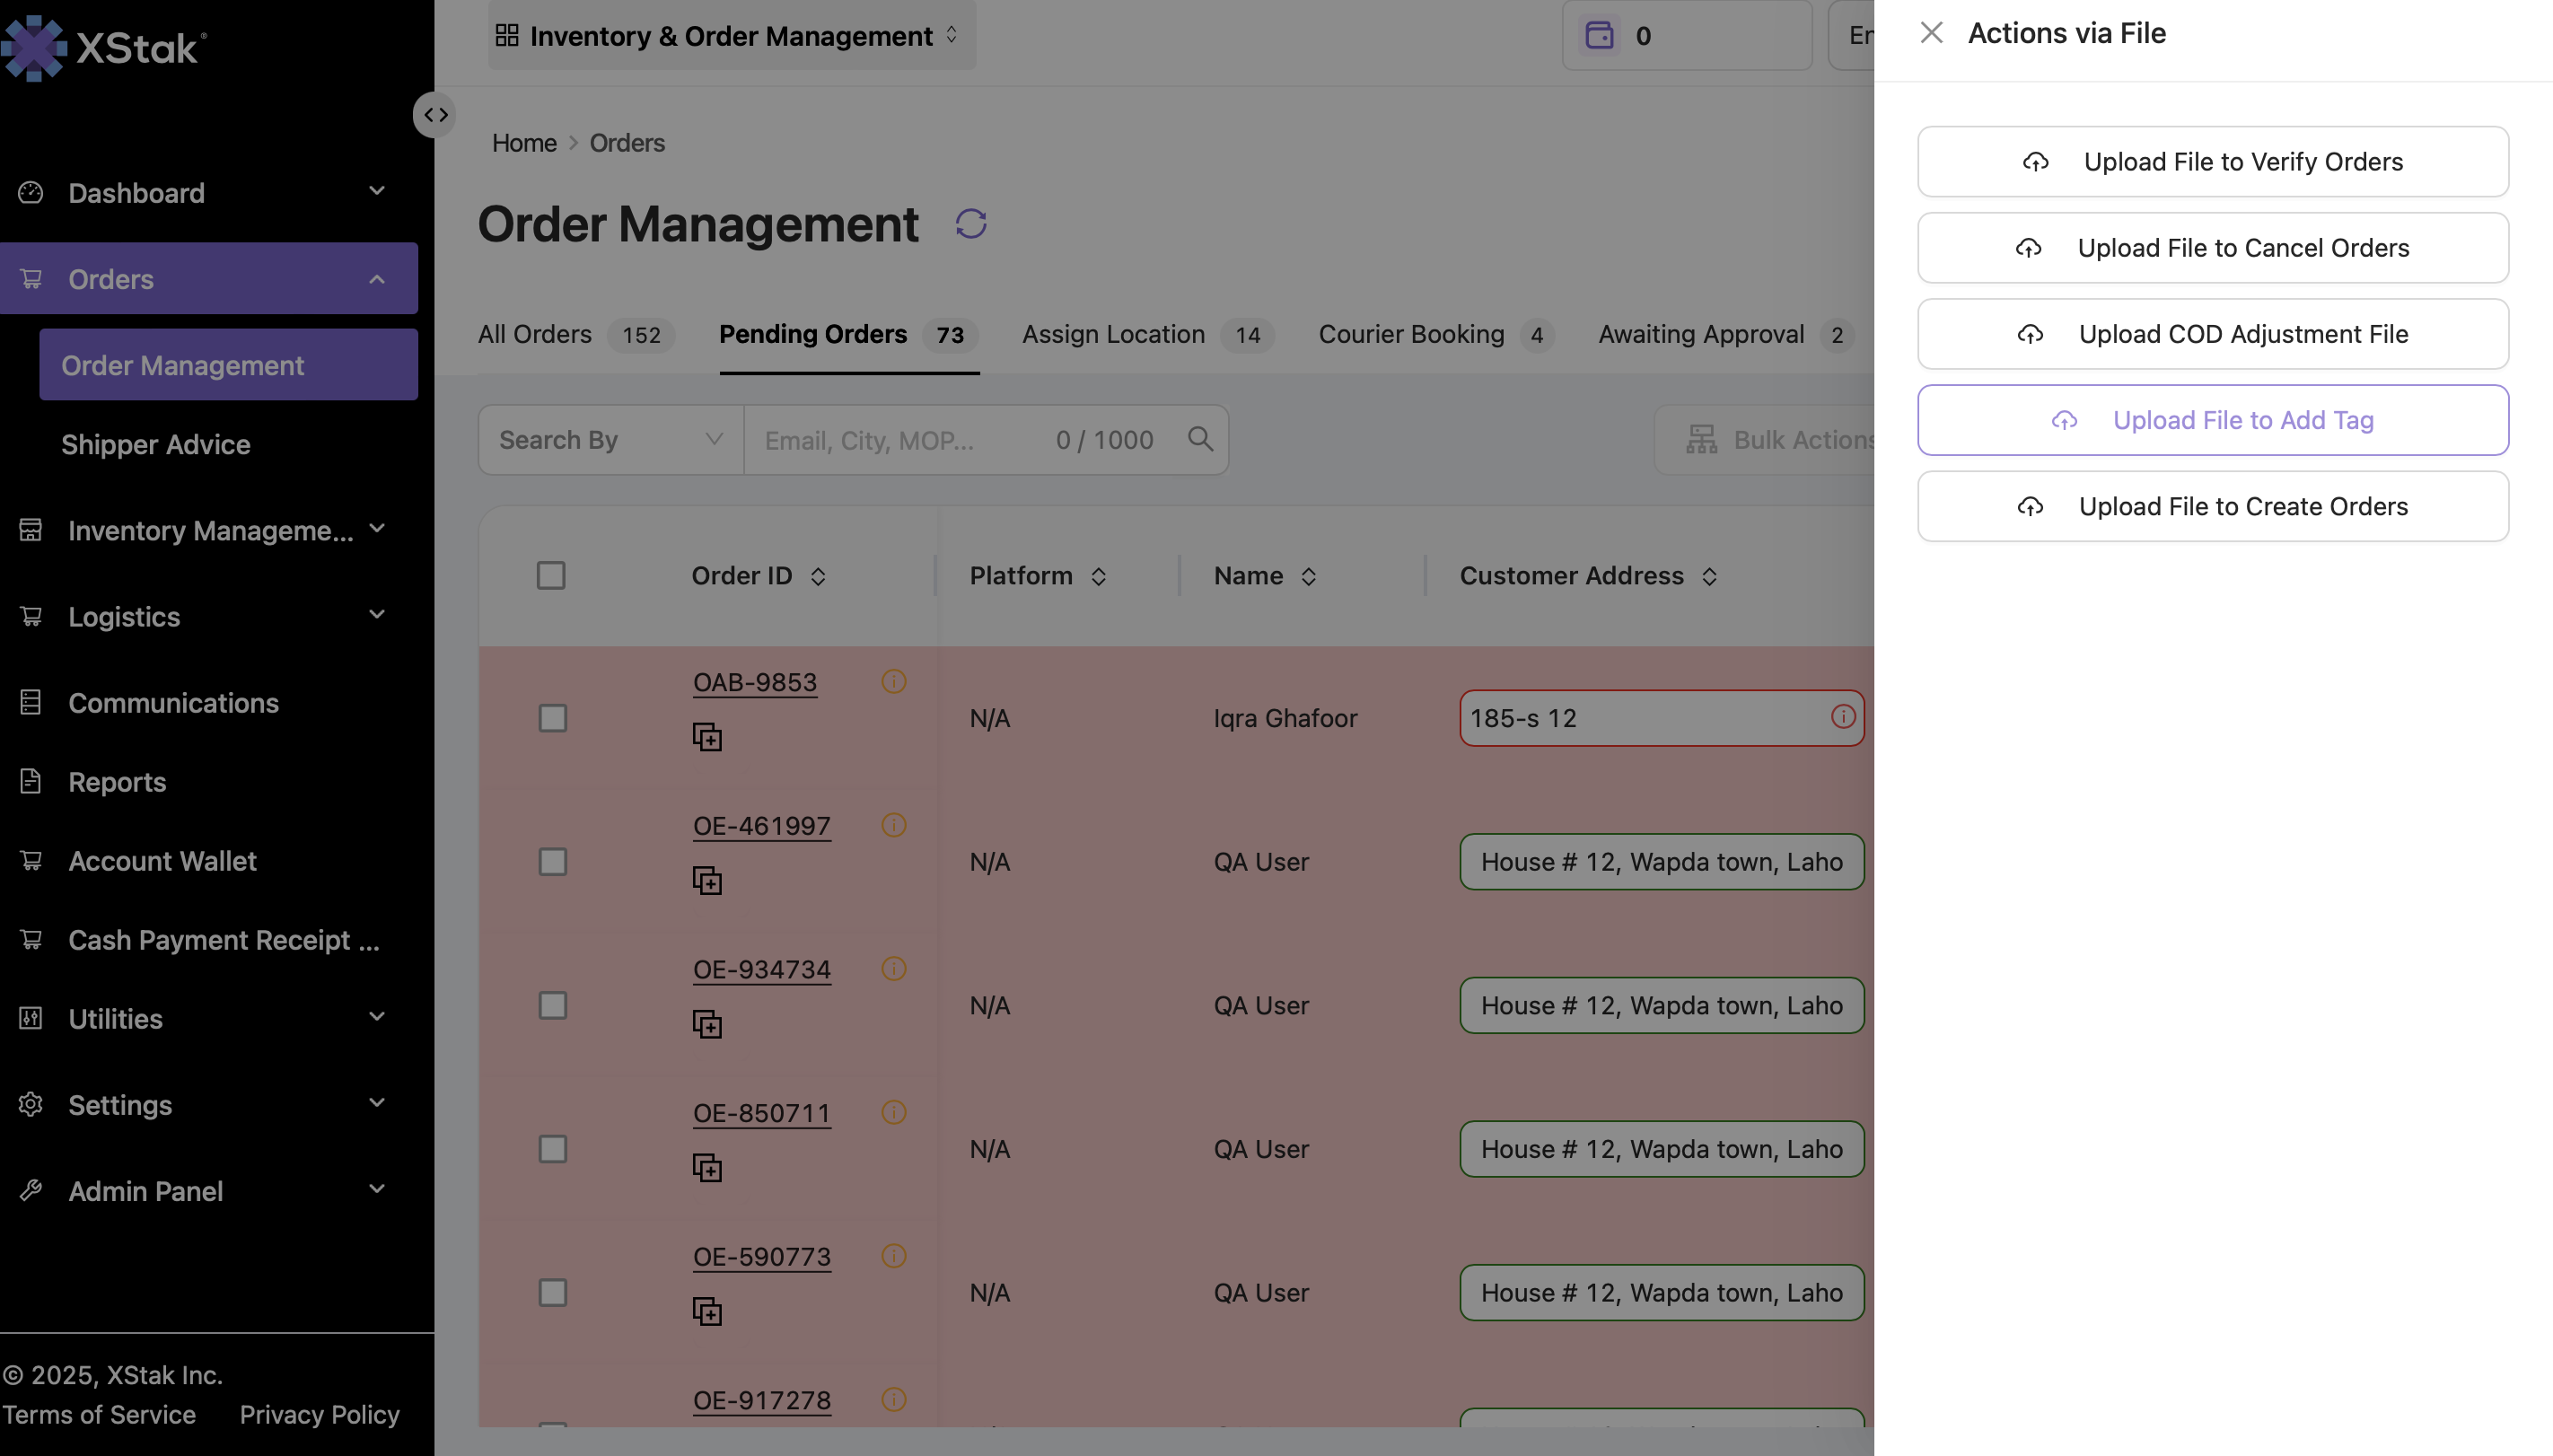
Click on Upload File to Add Tag.
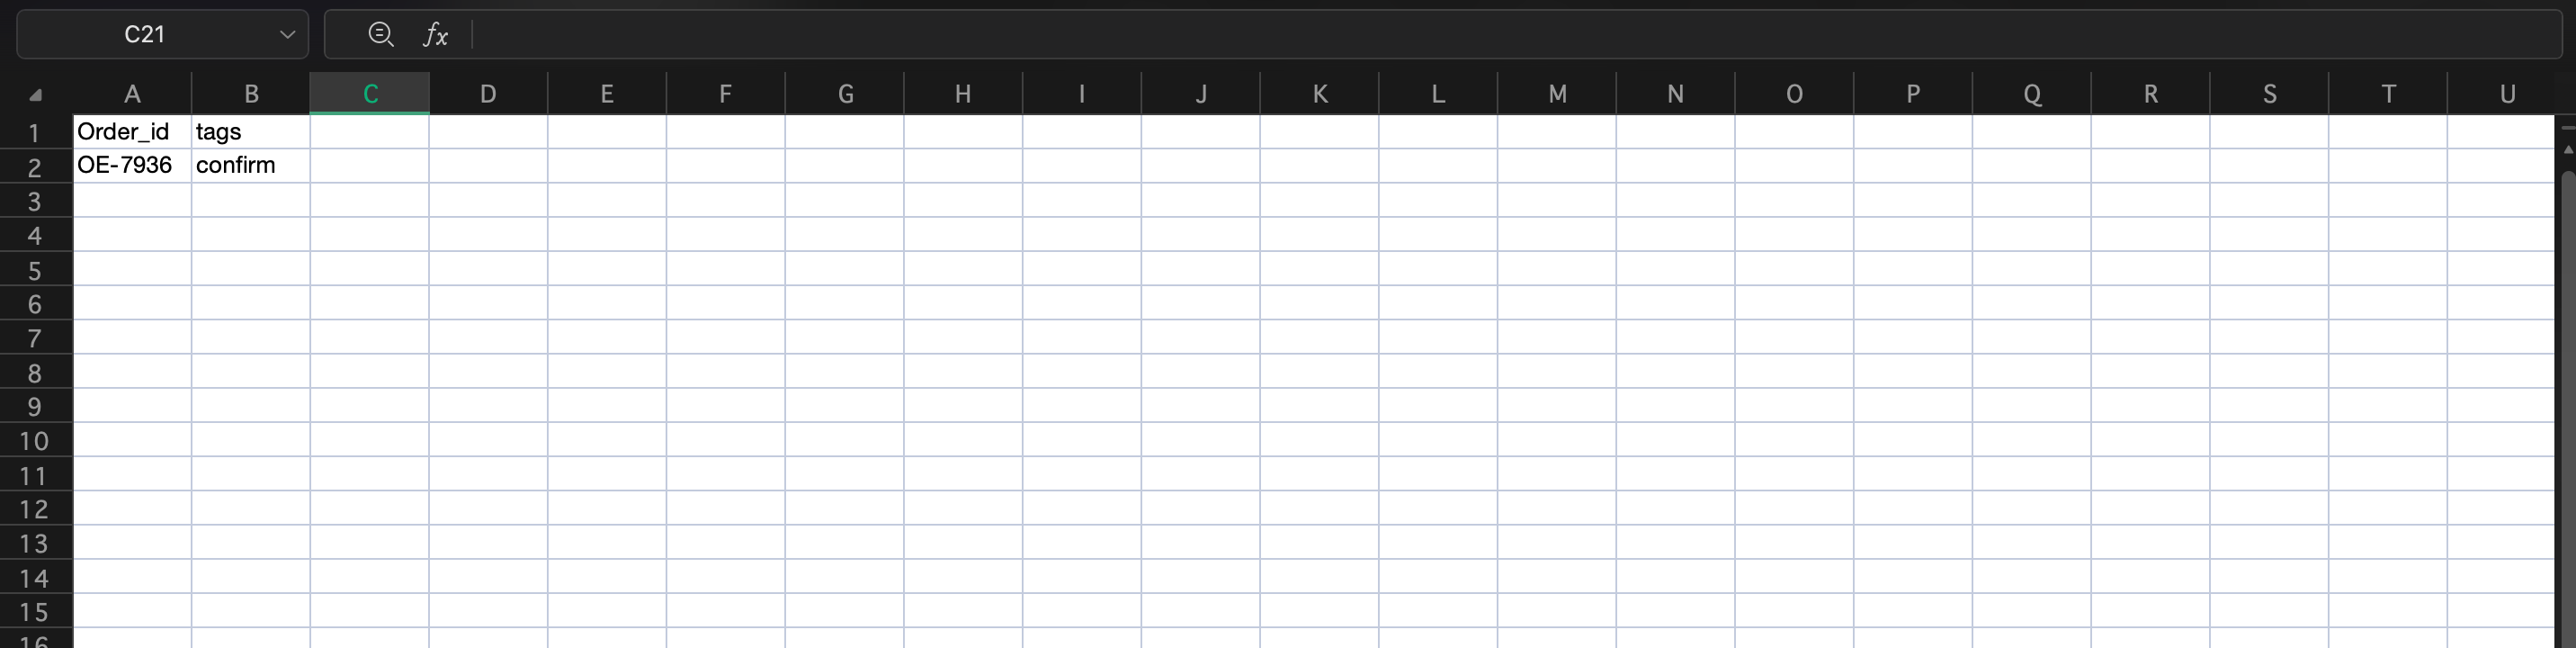
Prepare a CSV file with 2 columns:
Column A: Order IDs
Column B: Tags to add
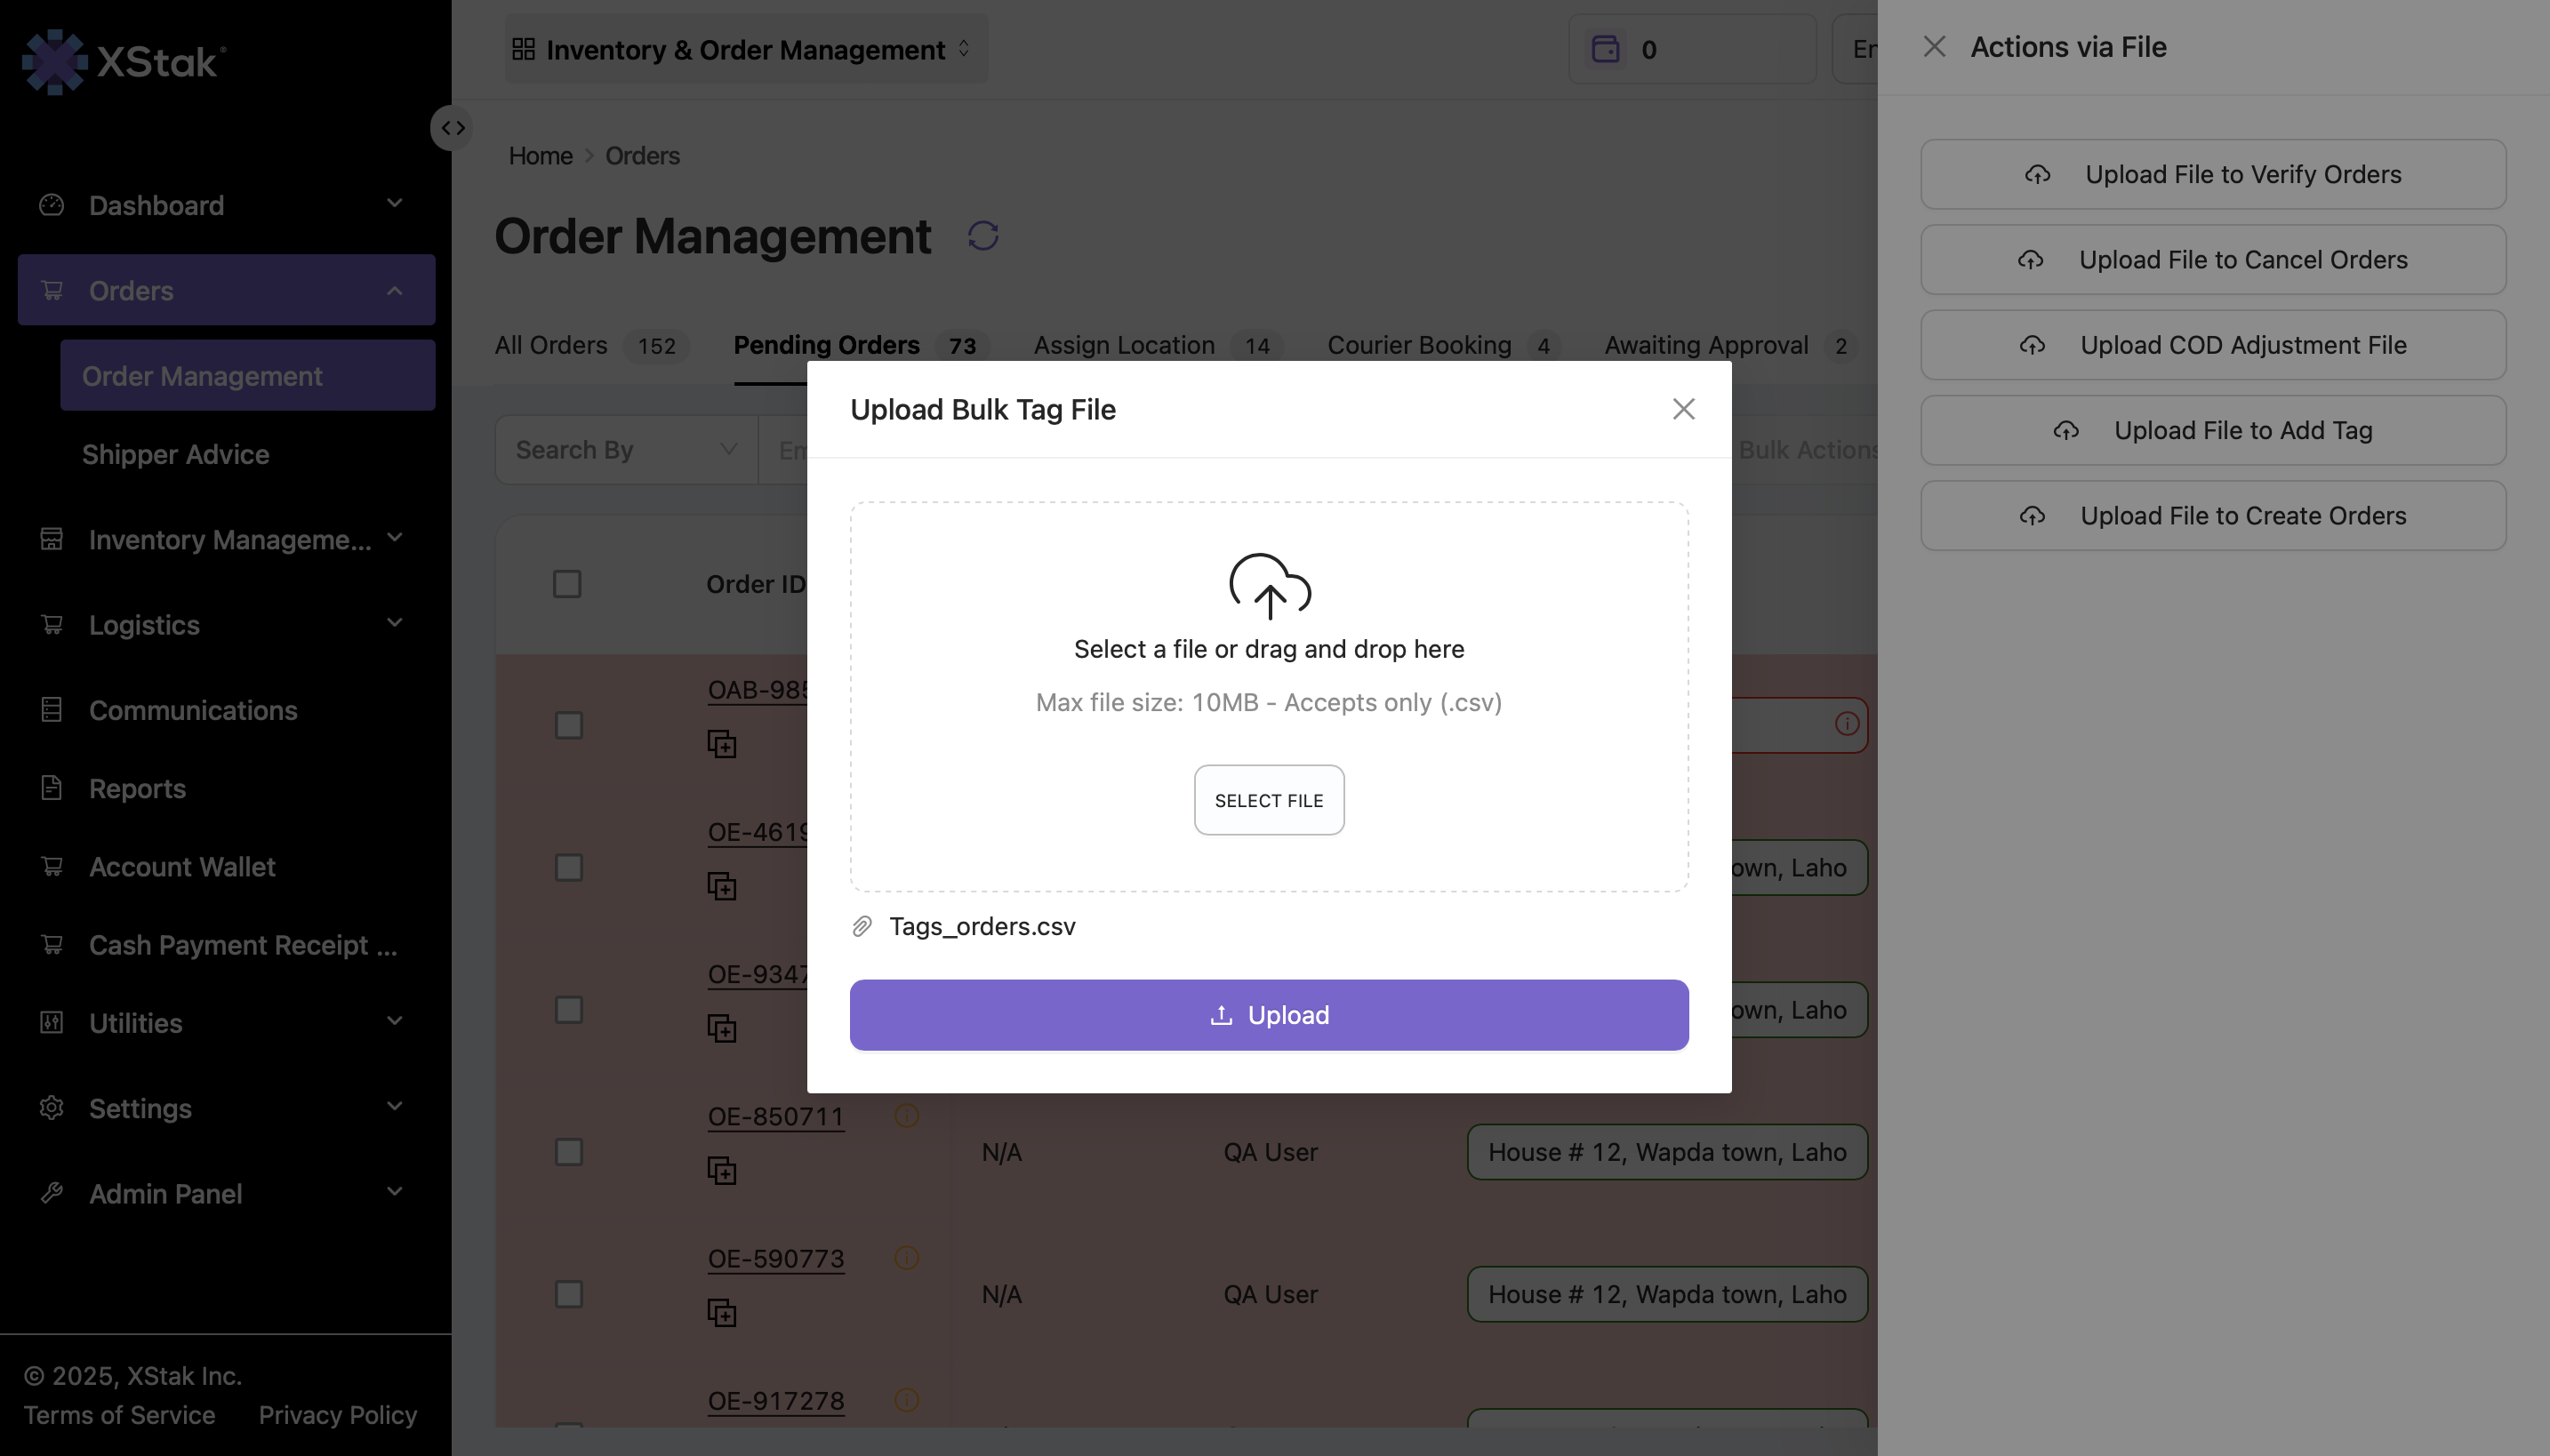
Upload the file by clicking Click or drag file to this area to upload, then click Upload.
Once processed, the tags will appear under the order's Order Tags section.