
WordPress plug-in Integration
Before making any client live on Woocommerce with the HBL MIDs we need to first consult with the product team as they need to check address formatting for this.
Onboard client on XAP using XAP onboarding API and login to XAP (use client email or admin tools email, but for client email, you will need to ask him for password reset, etc)
Log in to the merchant's WordPress store (Ask the client to share WP URL, Username, and password)
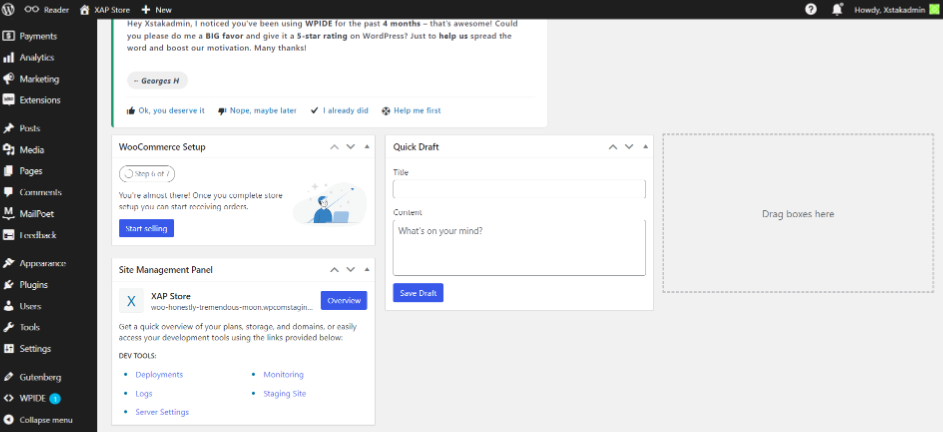
Go to Plugins from the side menu when you log in to WP dashboard
Click on Add new plugin
Upload this WP plugin
woocommerce-xpay-gateway-main.zip
Once it is installed, go to Installed Plugins tabs and search Woocommerce XPay Gateway. And click on Configure
Input Required Details:
You will need to fill in the required details, as shown in the image provided.
Click on Enable this payment gateway
Description can be updated/customized as per merchant request. This will be shown on the checkout page of website. By default Description is “Payment via XPay“
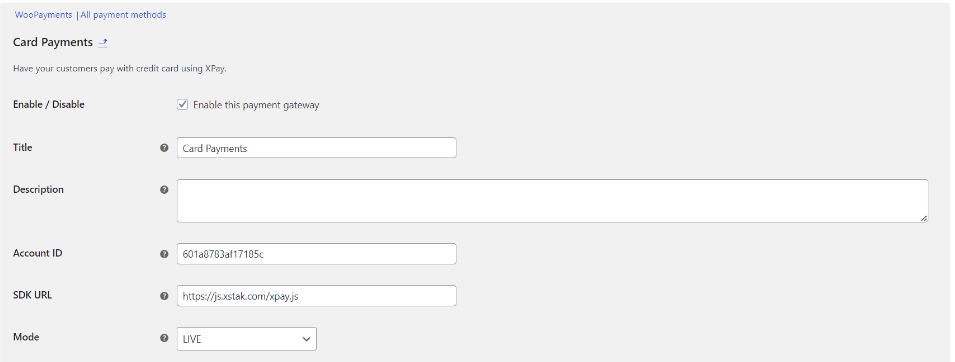
Make sure MODE should be same on XAP portal and WP portal (for testing it should be TEST mode and once live it is LIVE mode)
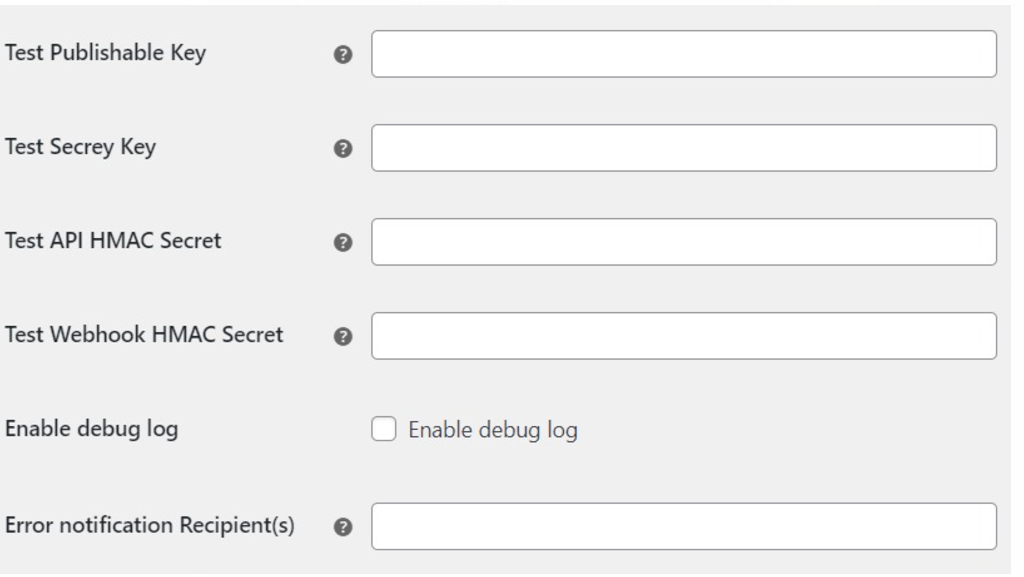
Generate keys from XPay portal and add in below fields on WP
Click Enable log
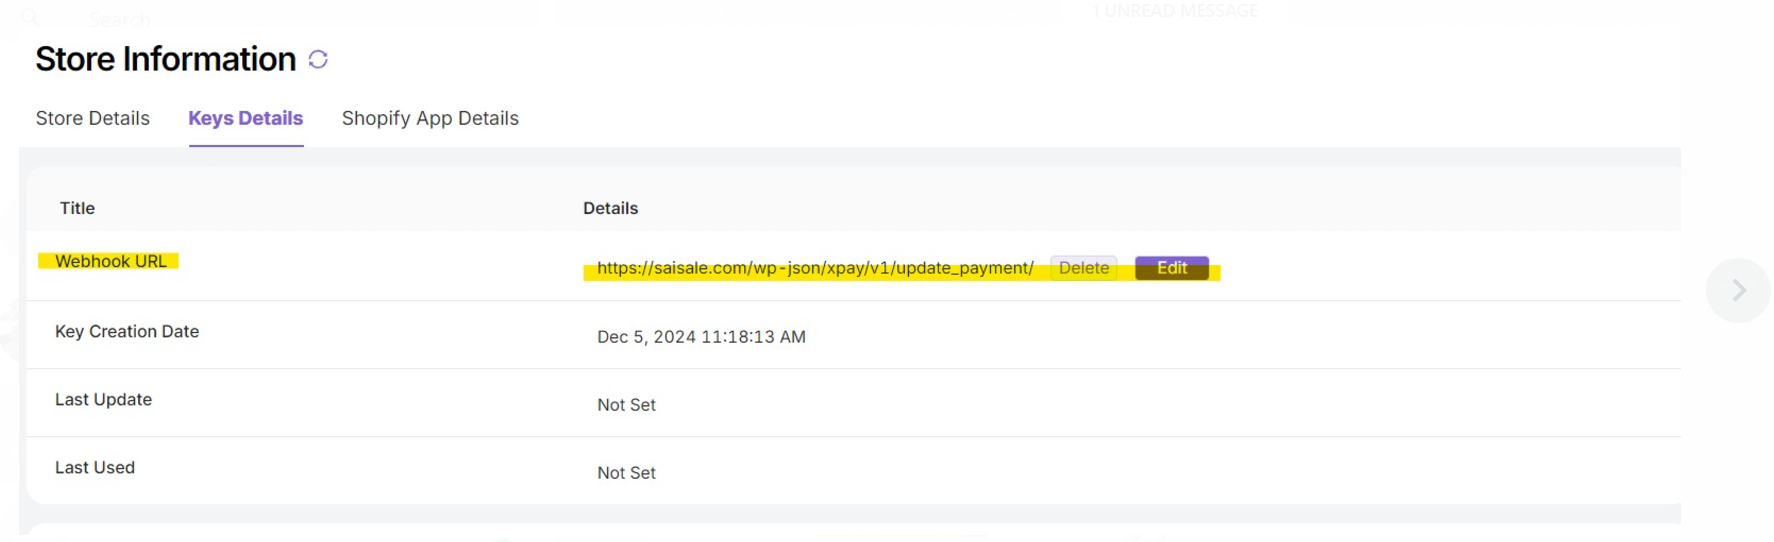
Now copy the webhook URL showing below on WP store and then proceed with step 6 i.e add in XAP > Store info >Keys details > Webhook URL
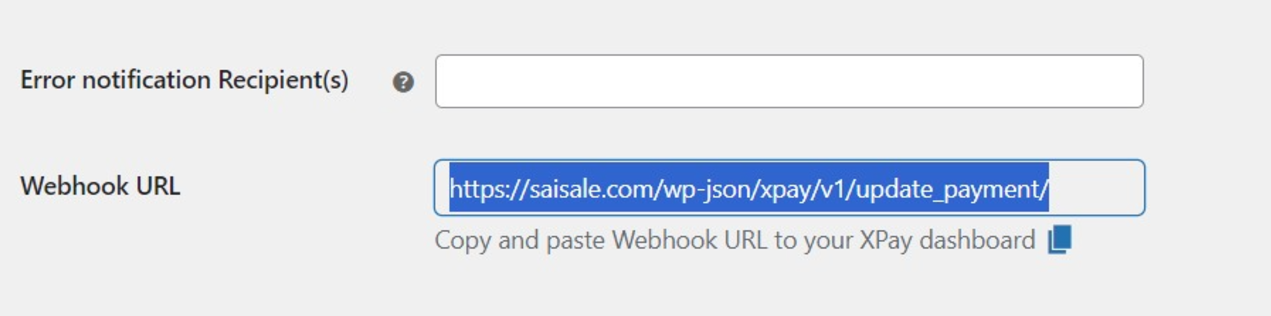
Add copied webhook URL in XAP > Store info >Keys details > Webhook URL
Gateway integration on XAP portal
Client will share gateway MIDs (whether it is of HBL/ BAFL/ Payfast)
Then we navigate to Gateways and select the respective Acquirer
If it is HBL gateway then we first need to proceed with TEST credes provided by HBL POC
To proceed with the HBL gateway integration, we need to follow these steps:
Test Transaction Setup:
Initially, a test transaction is required using HBL's test credentials.
For this, we can install the plugin on your test store and place a test order.
Once the test transaction is complete, we will share the details with the HBL team.
Live creds/MIDs Activation:
After HBL reviews the test transaction, they will provide the live creds.
These will be added to your gateway on XPay for live transactions.
Note:
If you do not have a test store, we can proceed on your live store using the test creds.
The test creds will be temporarily enabled for placing a test order and disabled immediately afterward.
IF it is BAFL or PAYFAST, we will directly add LIVE MIDs/creds in XAP gateway details and perform a test txn to confirm the integration
These credes are provided by HBL in email, we need to add them in Gateway details.
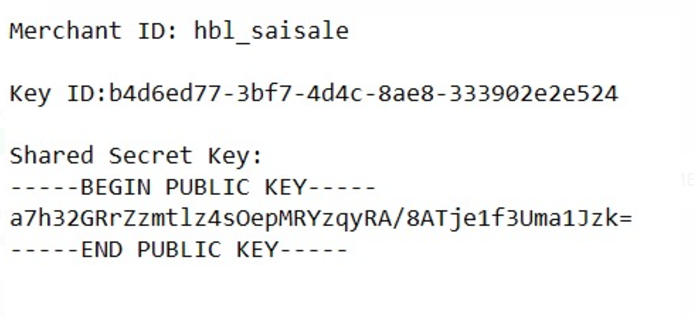
Merchant ID=Merchant ID , key id = merchant key, Secret key= merchant Secret key
Ask for a test product and test