
How to Enable Post-Purchase Extensions with Simstak in Your Shopify Store
To activate a post-purchase extension in your Shopify store, follow these steps:
Access Shopify Settings: Log in to your Shopify admin dashboard and go to the Settings section.
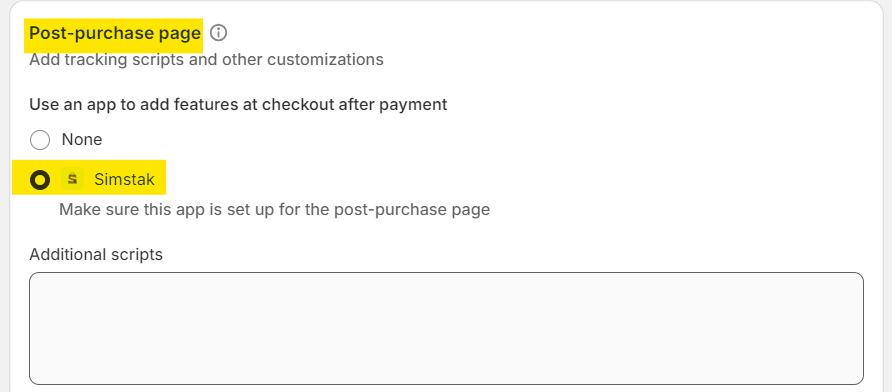
Navigate to Post Purchase: Scroll down and locate the Post Purchase section.
Select Simstak: Choose Simstak from the available options.
Save Your Settings: Confirm and save your settings to enable the post-purchase extension.
How to Set Up Upselling on the Post-Purchase Page with Simstak
Simstak offers a powerful upselling feature on the post-purchase page to help you increase your average order value. To enable upselling:
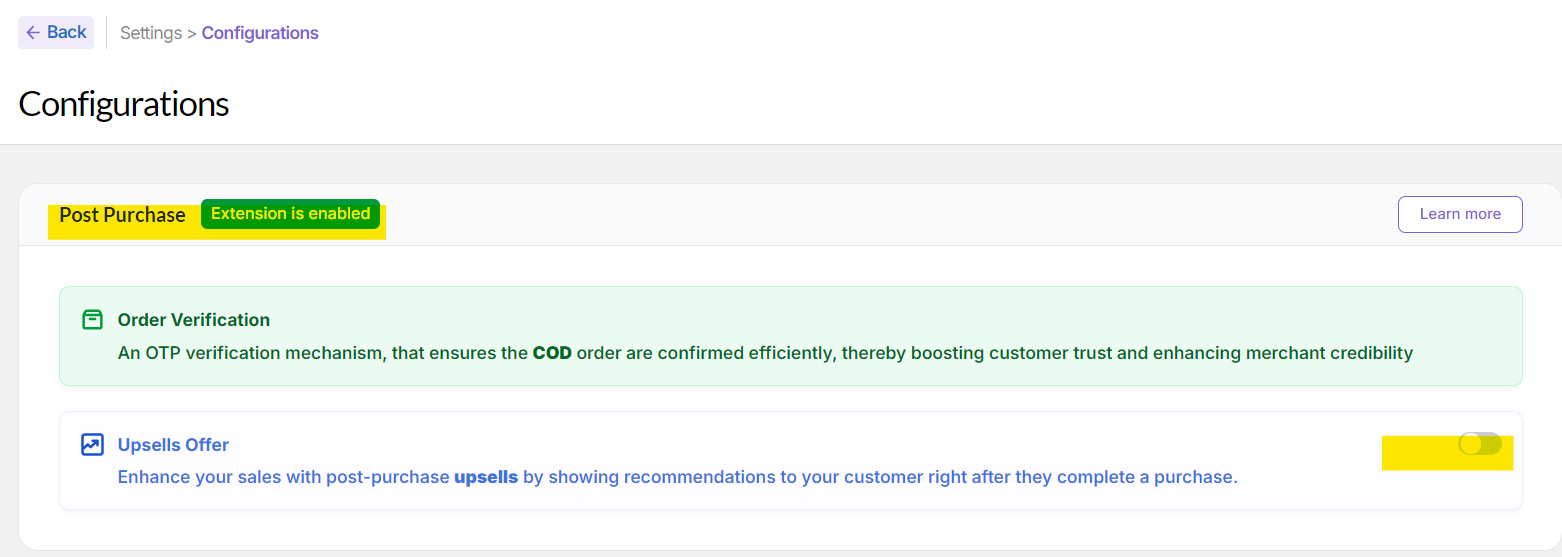
Access Simstak Configuration: Go to the Simstak configuration page in your Shopify admin.
Enable Upselling: Follow the instructions on the configuration page to set up and customize your upselling offers.
How to Customize the CTA on Your Post-Purchase Page
To personalize the Call-to-Action (CTA) button on your post-purchase page:
Navigate to Sales Channels: In your Shopify admin, go to the Sales Channels section.
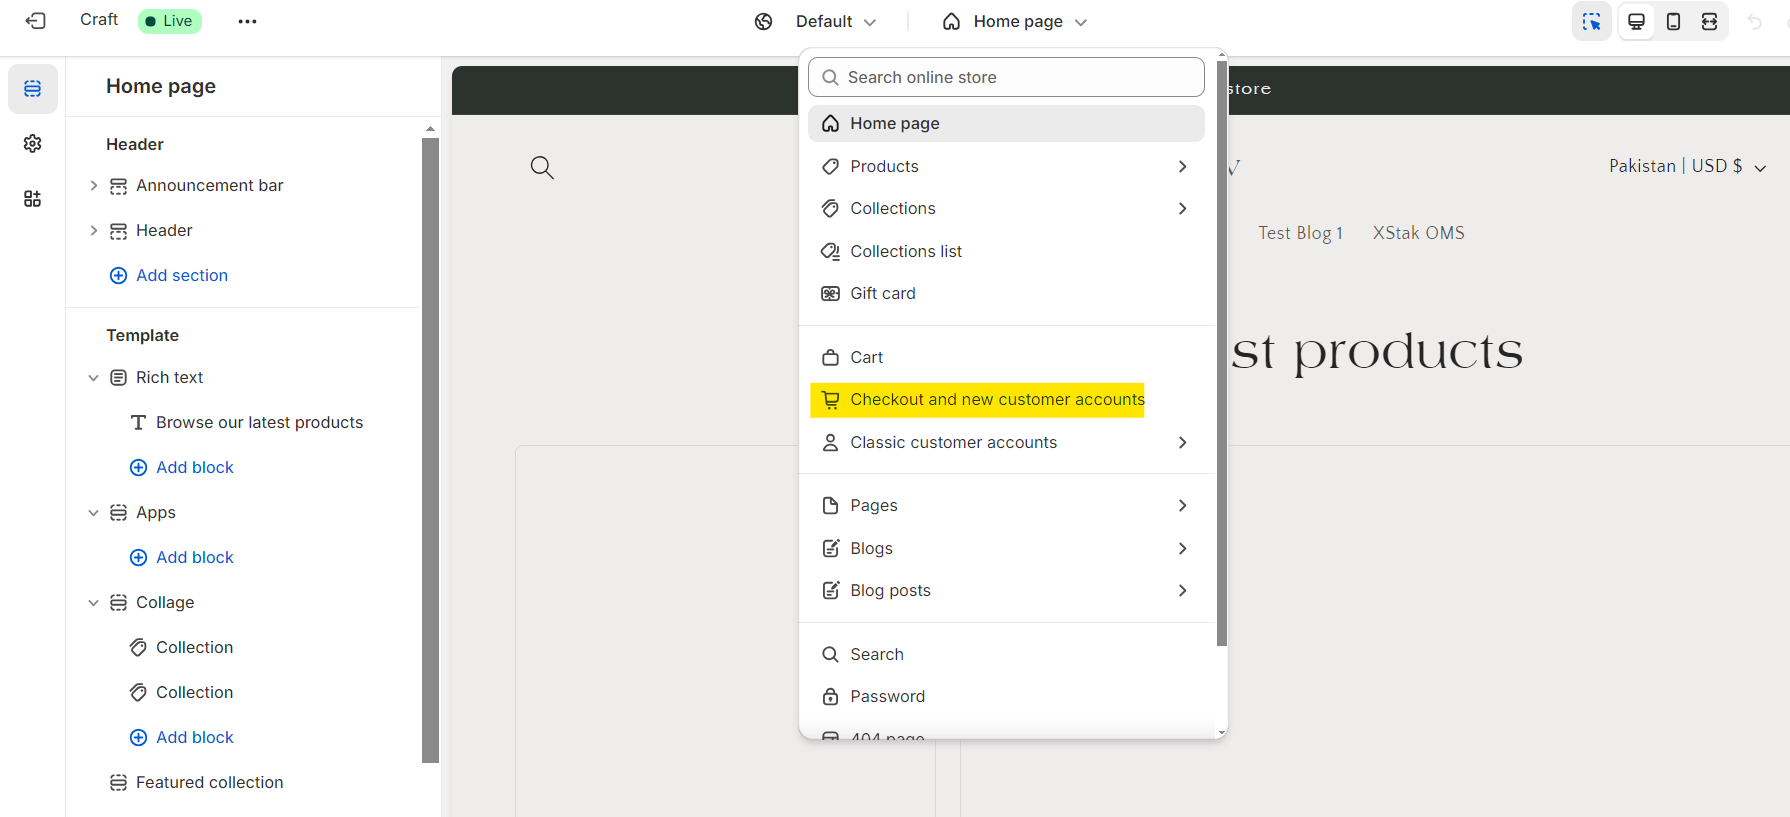
Customize Online Store: Select Online Store and then click on Customize. This will redirect you to the theme editor.
Edit Checkout Page: From the dropdown menu, choose the Checkout Page.
Modify CTA Buttons: On the left sidebar, locate the Buttons section. Adjust the CTA button settings according to your preferences.
By following these steps, you can effectively customize and optimize your post-purchase experience using Simstak in your Shopify store.