Members module
Click on Members in the left column of Member to view, add, and edit the profiles of people who are enrolled in your programs. This module consists of two sub-modules:
Member management
Member merge
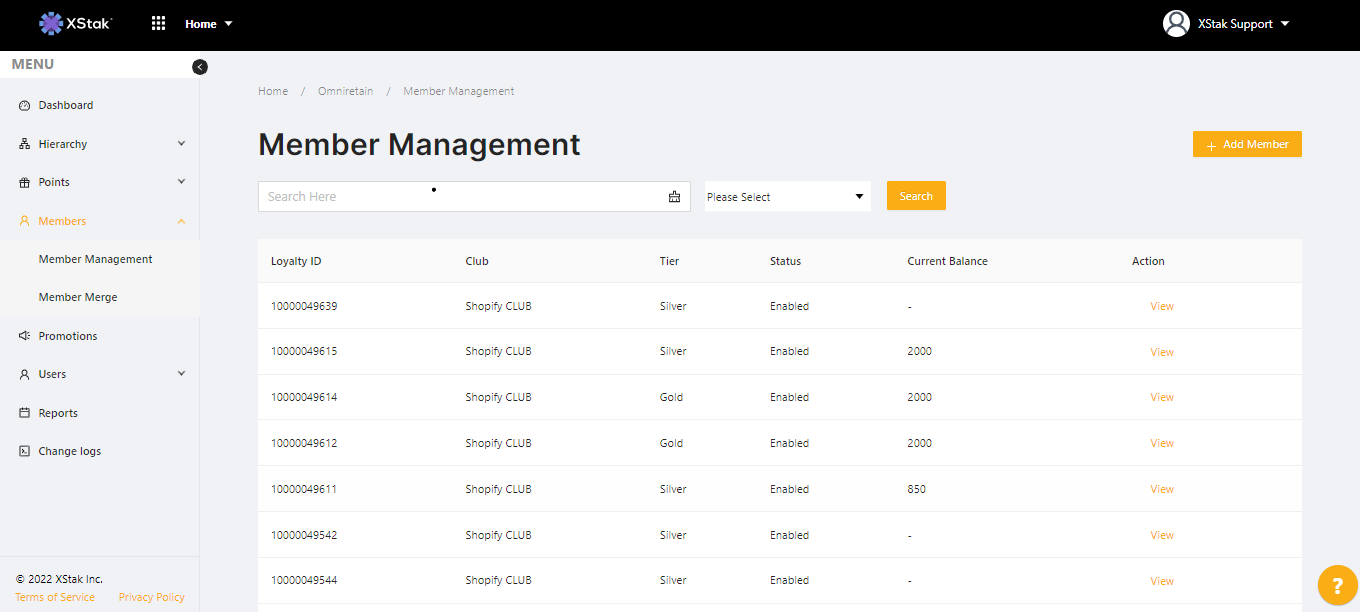
Member Management
Member Management is the default view. It features an Add Member button at the top of the page, a robust search feature, and a table that shows a list of all existing members.
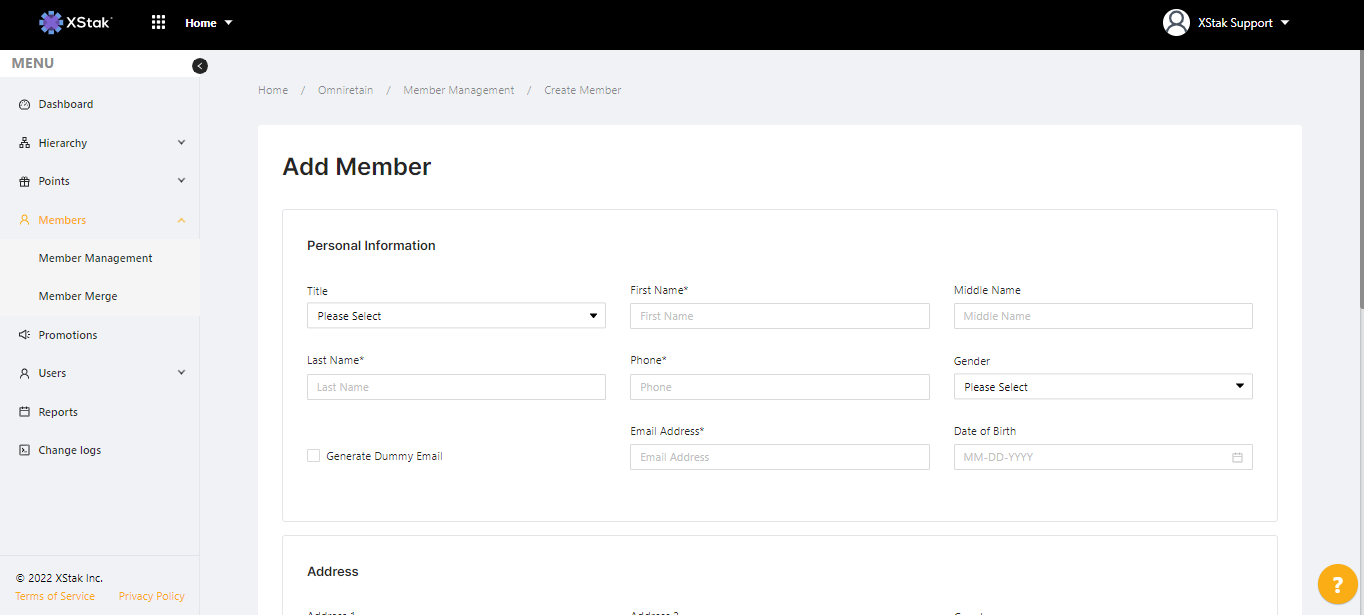
Adding a Member
Click the Add Member button at the top of the page to create a profile for a new member. Enter their Personal Information and Address.
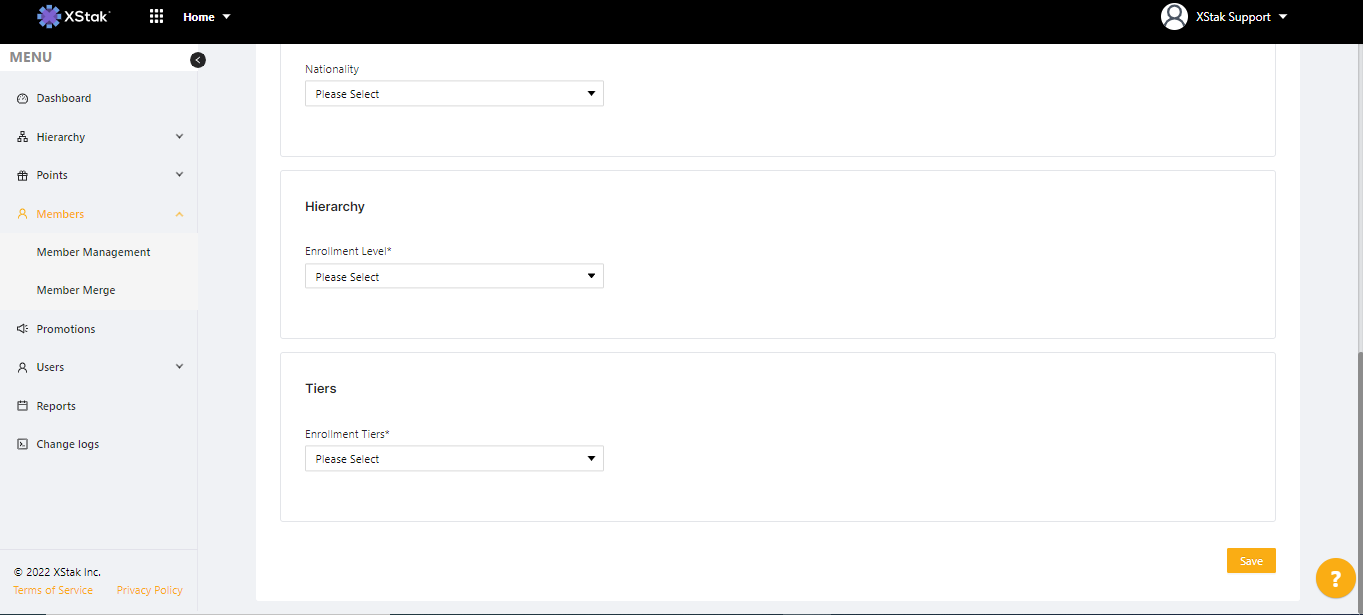
Under Hierarchy, use the Enrollment Level drop-down menu to begin signing the person up. Depending on how you have your various Clubs, Stores, etc. set up, new options may appear after you’ve selected an Enrollment Level.
Based on the selections you made under Hierarchy, Tiers lets you enroll the person into a specific program.
When you’re finished, click the blue Save button in the top right to apply your changes and return to Member Management.
Searching for Members
From Member Management, use the Search Here bar in conjunction with the Please Select drop-down menu at the right to find members based on their personal, contact, or address information. Click the blue Search button at the far right to complete your query. Any results will appear in the table below.
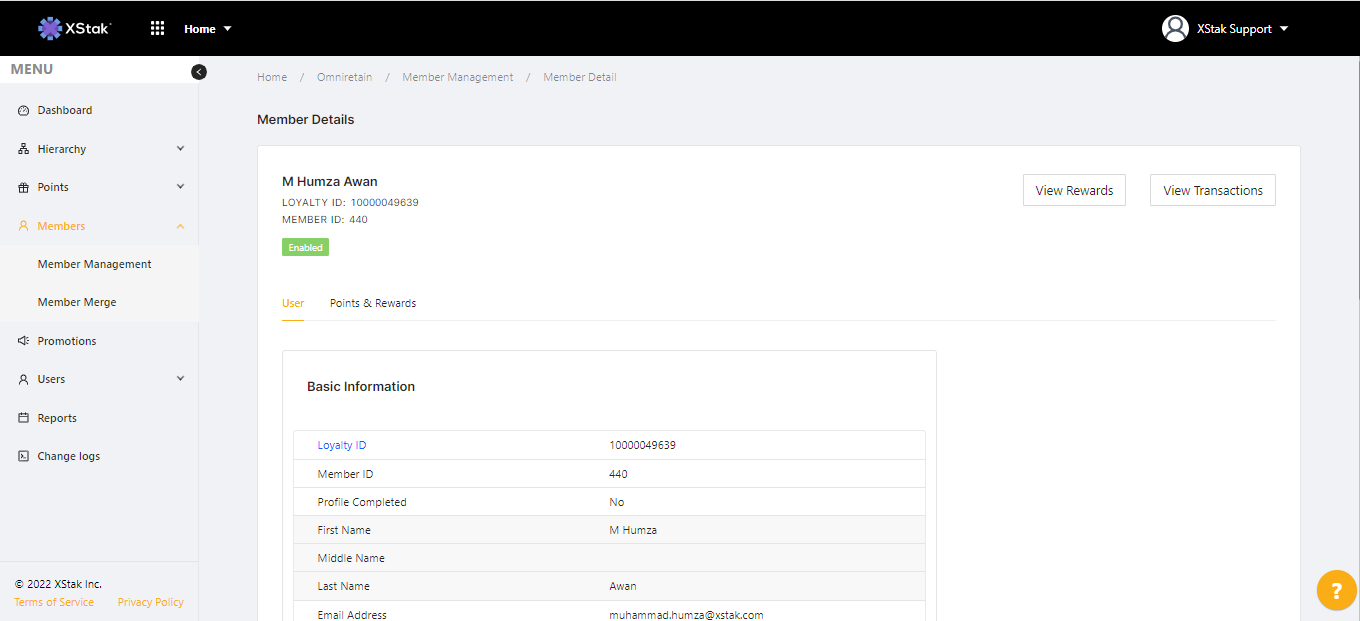
Viewing/Editing a Member
From Member Management, find the member whose information you would like to view or edit and click on the eye icon in the far right column of the table to view their profile.
A member’s profile has two tabs: User and Points & Rewards.
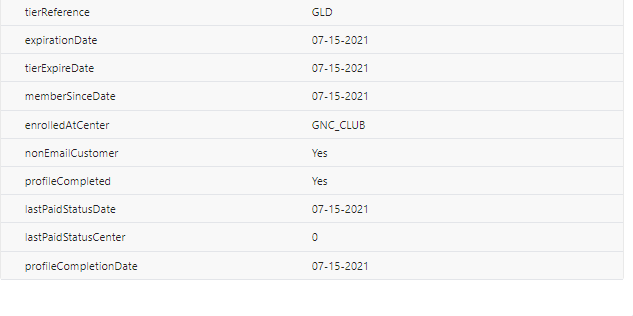
User is the default tab. It lets you view the member’s personal information and make manual edits to the Status and Tier of their account. Click the pencil icon to the right of either to make changes.
Use the tools in the Points & Rewards tab to make changes to a member’s points and view their point adjustment history.
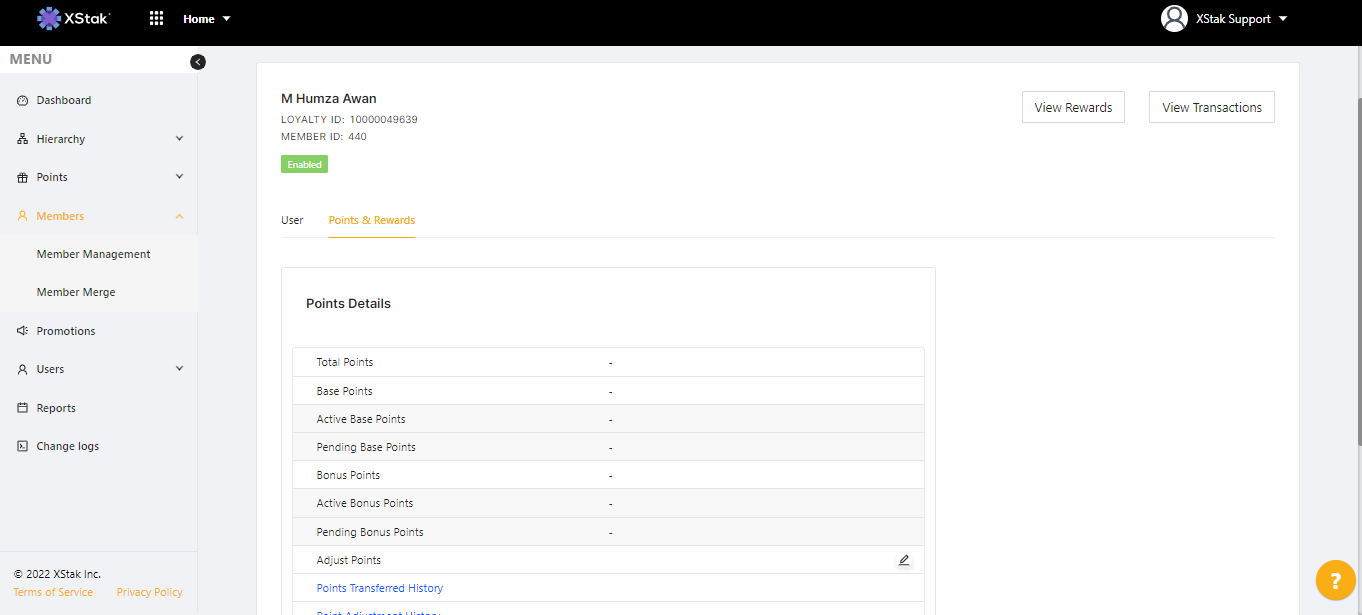
Adjust points - change the member’s point information with controls including:
Type of point to adjust (Base point, bonus point, etc.)
Point value
Company/business running the program
Date
Reason code
Points Transferred History - displays member’s the points transaction
Points Adjustment History - displays the member’s points adjustment history
Point Expiry Extension - adjust the member’s number of points, point expiration date, base points, and promotional points
Upcoming Points Expiry Extension - extend the date the member’s points will expire
Furthermore, you can also set your rewards status to either Auto Conversion or Banked Conversion.

The View Rewards and View Transaction buttons at the top-right of a member’s profile allow you to see the rewards they’ve earned and their transaction history.
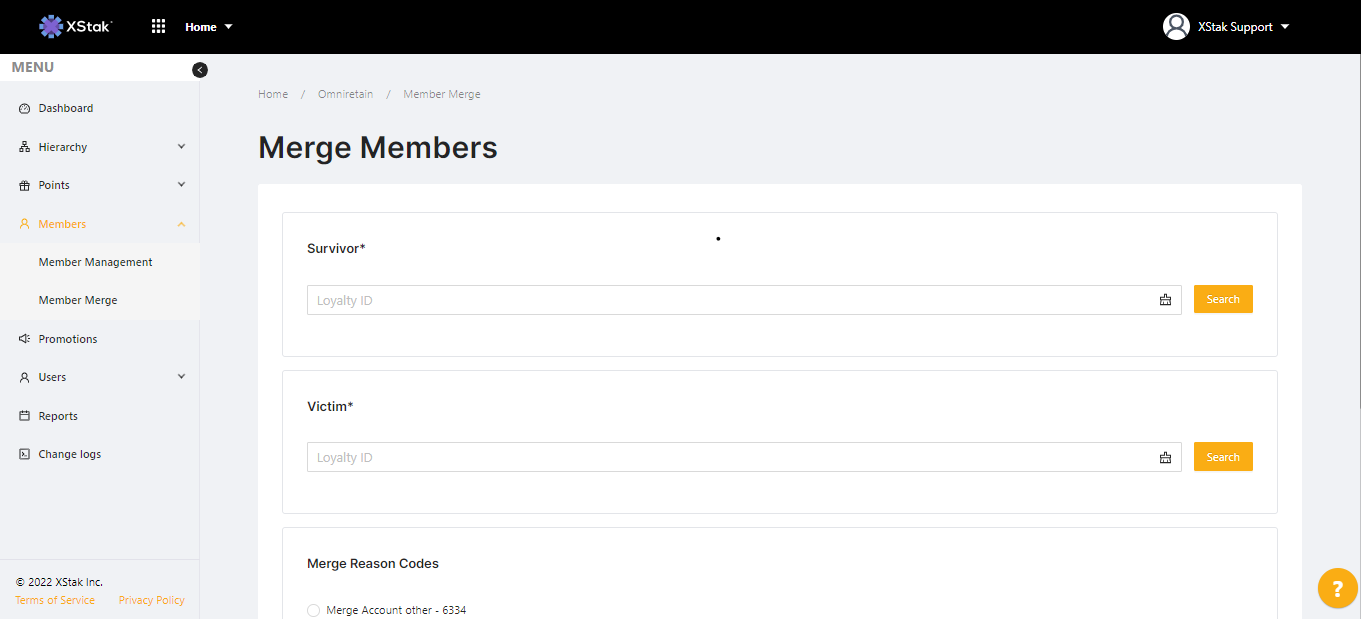
Member Merge
Member Merge allows you to combine two member accounts into one. It’s a useful feature if someone has inadvertently signed up for the same loyalty program twice and would like to retain the points they've earned from both memberships.
Expand the Members menu at the left and select the Member Merge option. There are two search options to find the account you would like to designate as the Victim and the other as the Survivor. Member Merge will take the points of the Victim account and count them toward the point total in the Survivor account. However, none of the personal information or tier status in the Victim account will be transferred. This means that if you set an account on a paid tier as the Victim and an account on a free tier as the Survivor, the remaining account will be on a free tier.
Once you are sure that you have designated the correct Victim and Survivor accounts, click Merge.