Blacklist Module
After repeated displays of fraudulent activities, the user comes insight as someone whose further actions could not be trusted. Then to save time & avoid future inconveniences, OE provides the brand to exercise its liberty of adding that user’s email ID and contact number to the Blacklist, and permanently banning him from placing an order again.
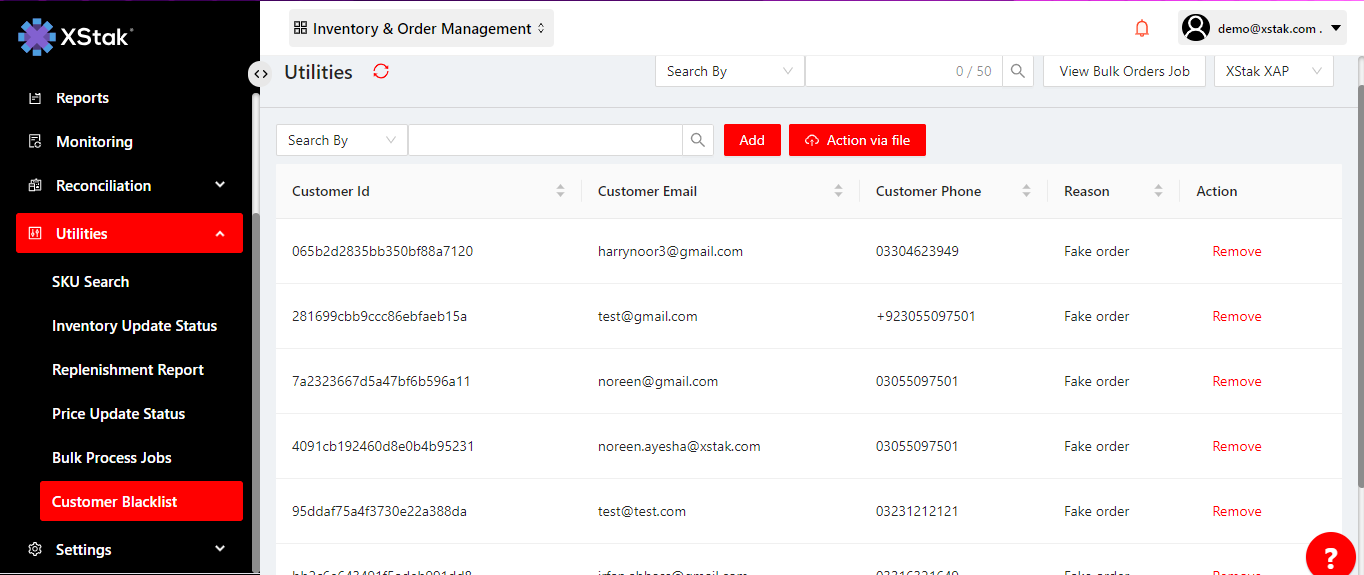
Click on Utilities module from the sidebar.
Then click on Customer Blacklist from dropdown.
Click on the Blacklist tab, user will land on the Blacklisted Customers segment.
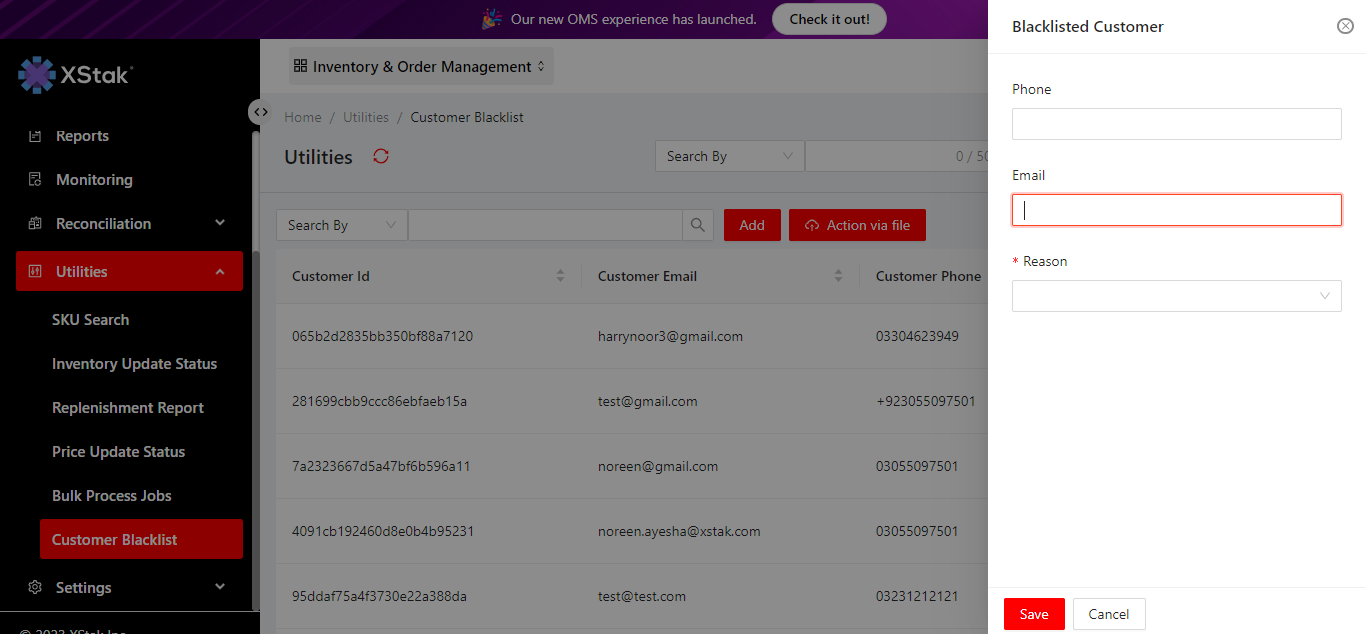
Click on “Add ” button.
A mini window will appear.
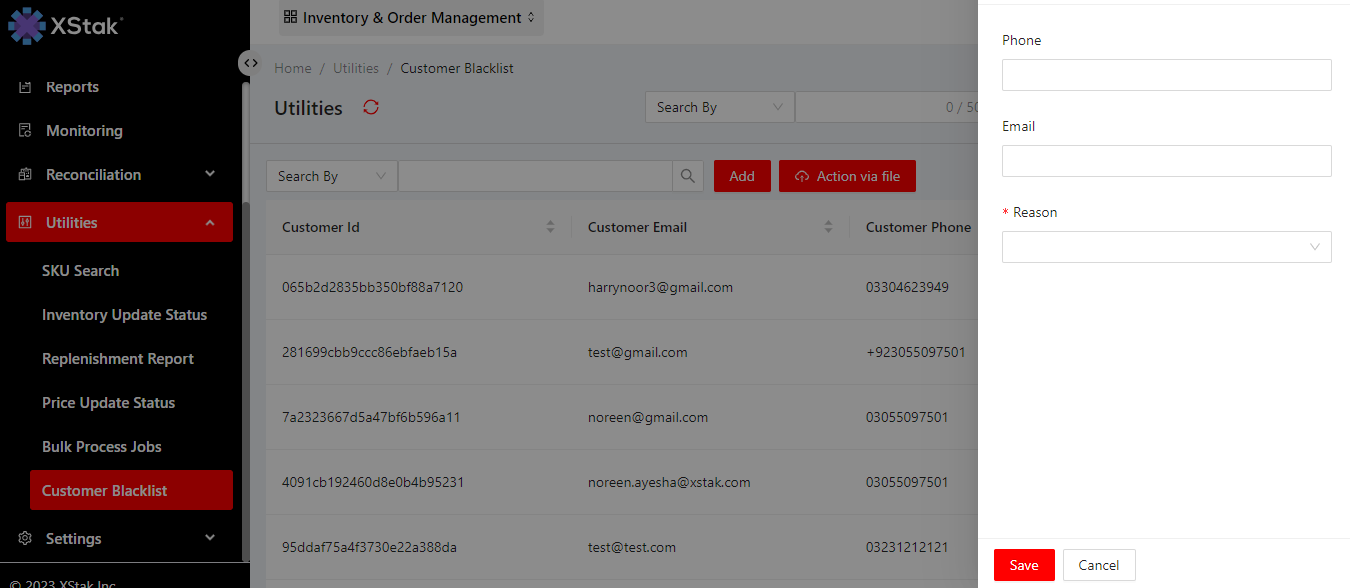
Add the customer’s contact number in Phone Number field, his email ID in Email field, and the choose one of the reasons of why user is blacklisting the customer from the Reason dropdown field.
Click on the Save button, and the customer will be added to the blacklist.
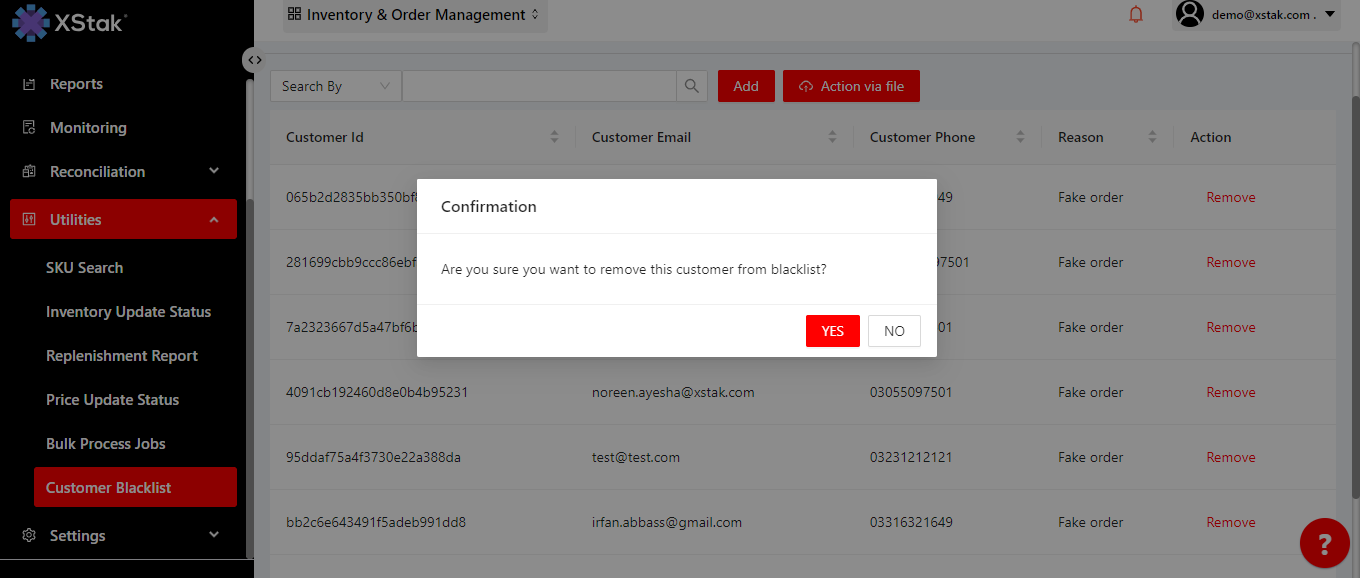
If, in any case, user want to remove a customer from blacklist, clicking on the remove opposite to Customer ID, it will remove the customer from Blacklist.
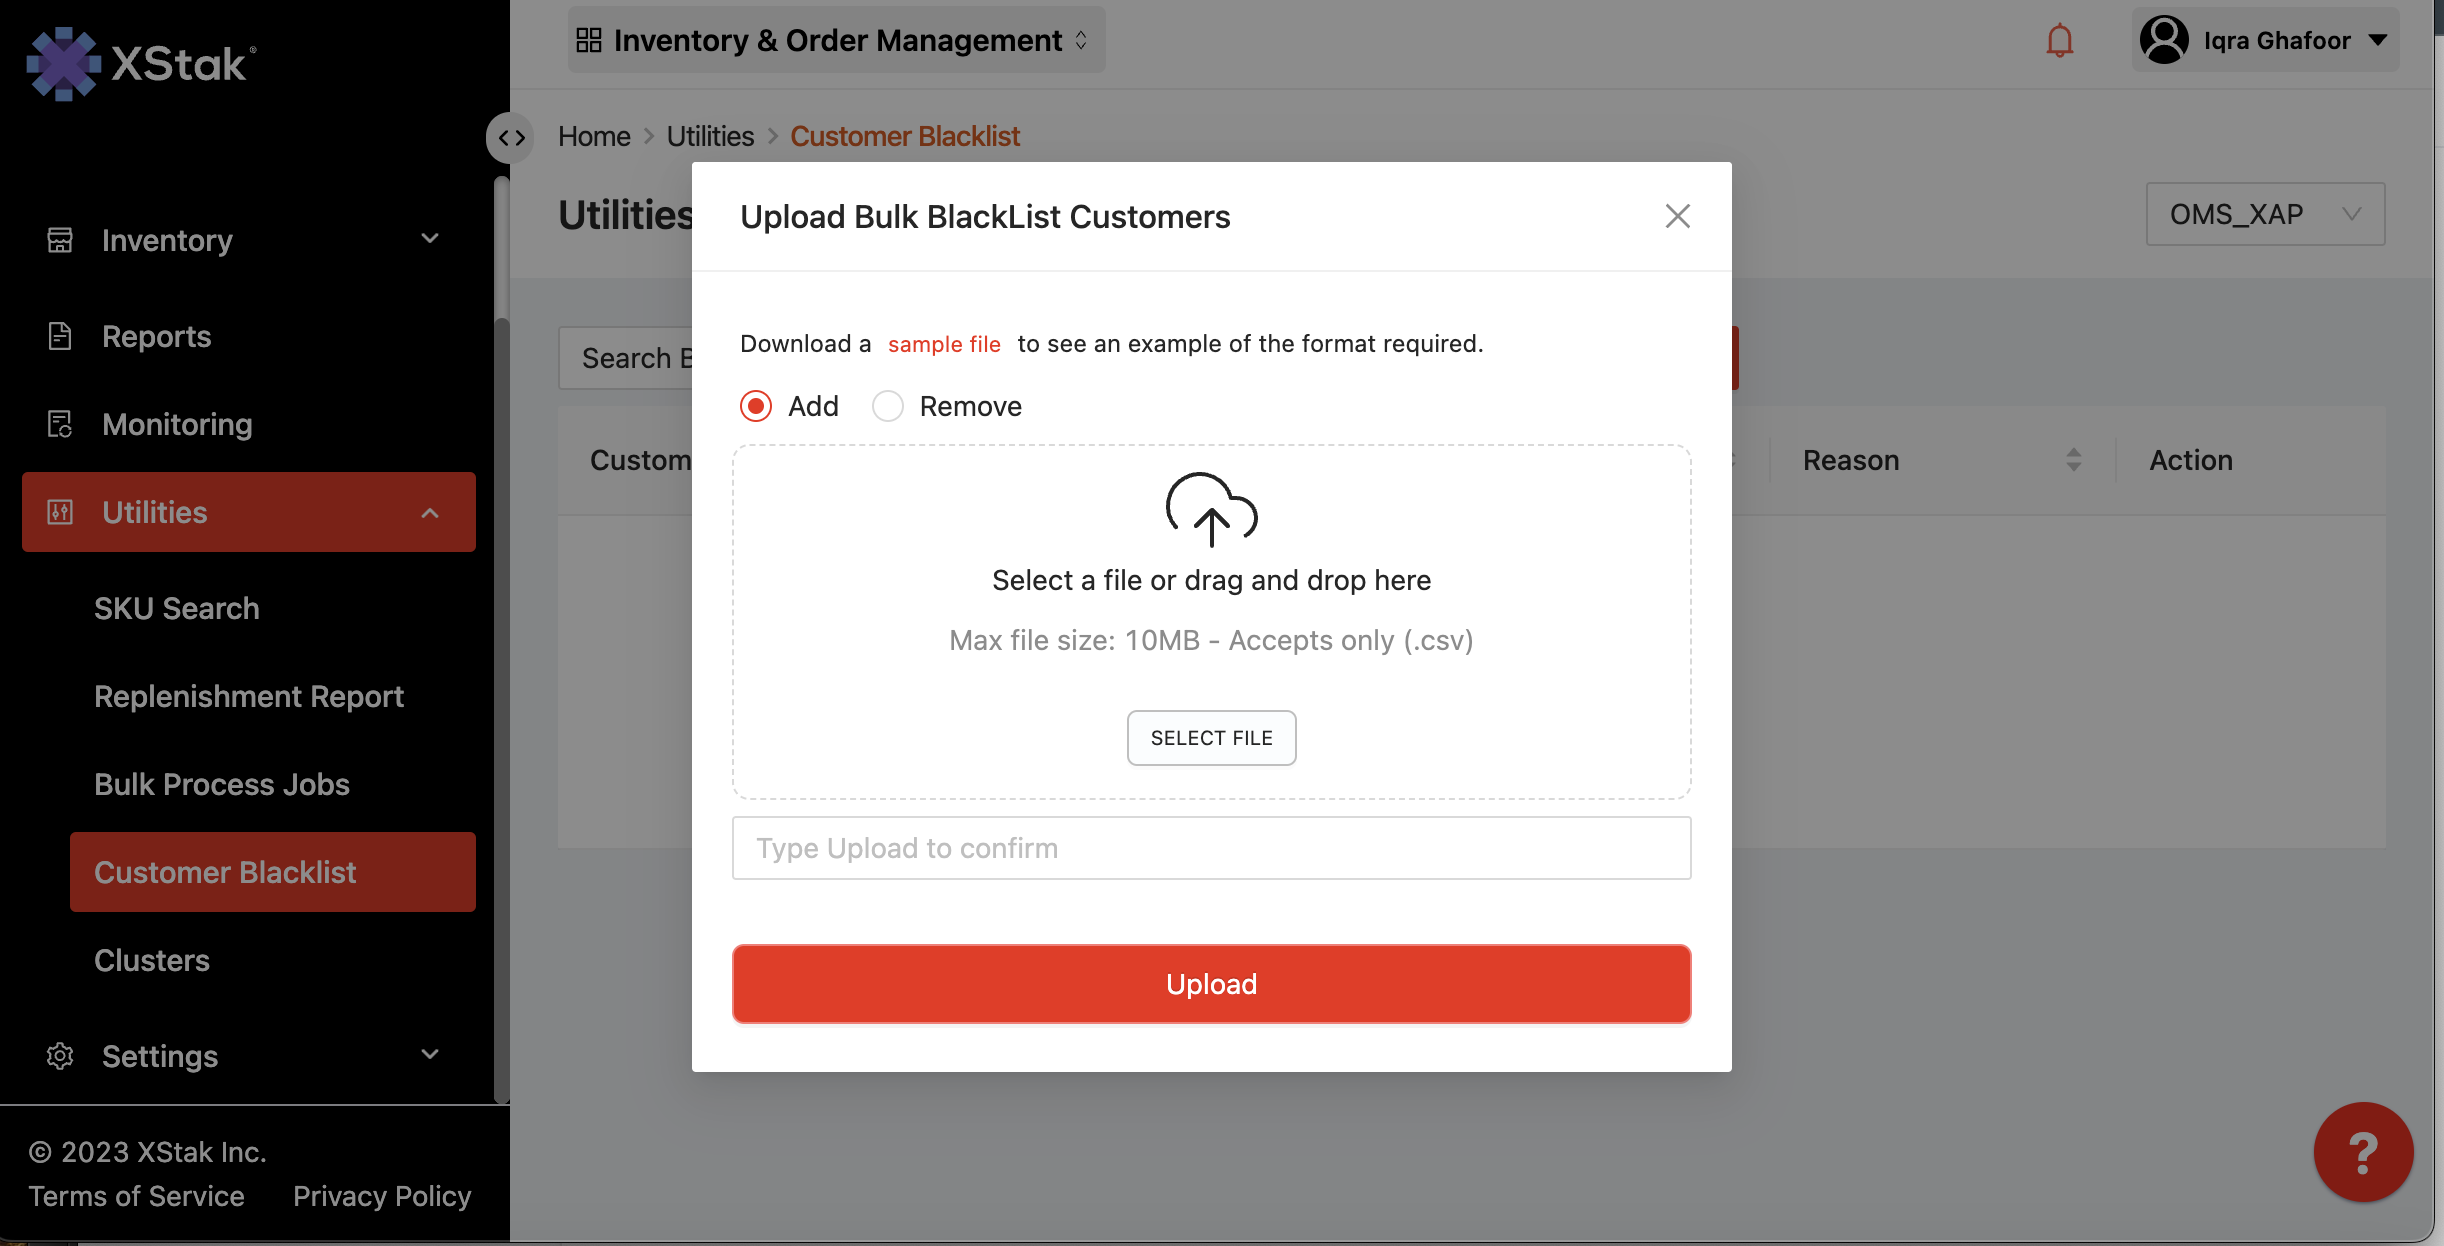
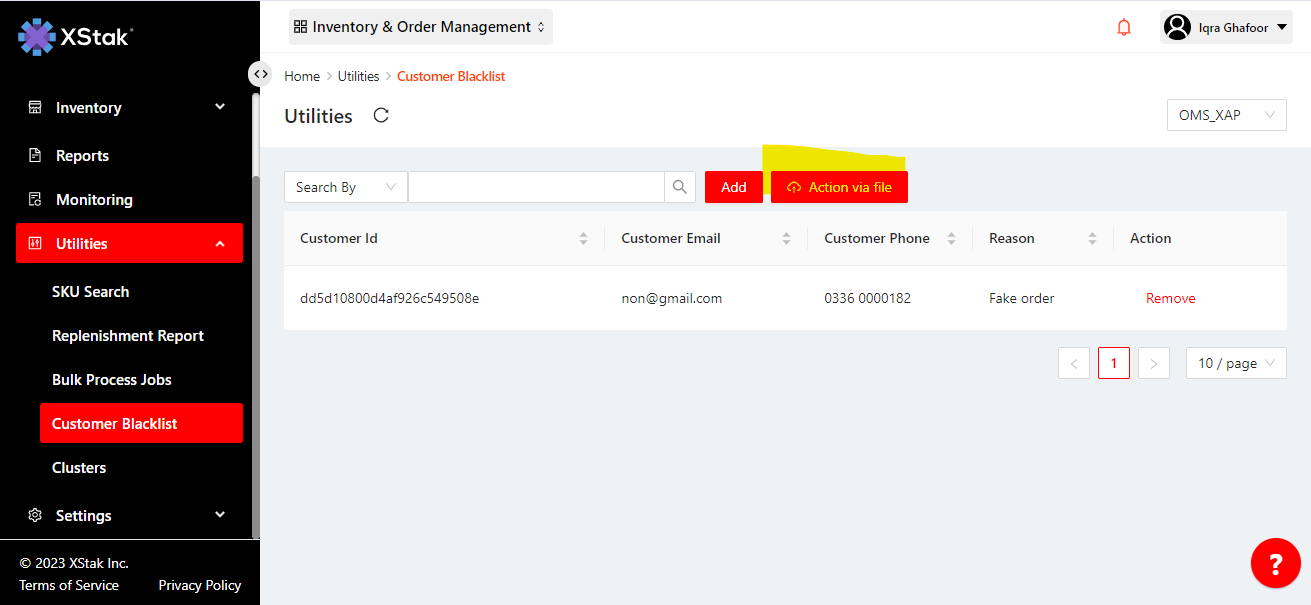
In Bulk Action via file:
Click on Action via file
To add a customer to the blacklist by default, download the sample file. If you want to remove a customer from the blacklist, check the "Remove" box.
To select a file, click on "SELECT FILE."
Type "Upload" to confirm.
Click the upload button.